Salted Caramel Chocolate Tart Recipe
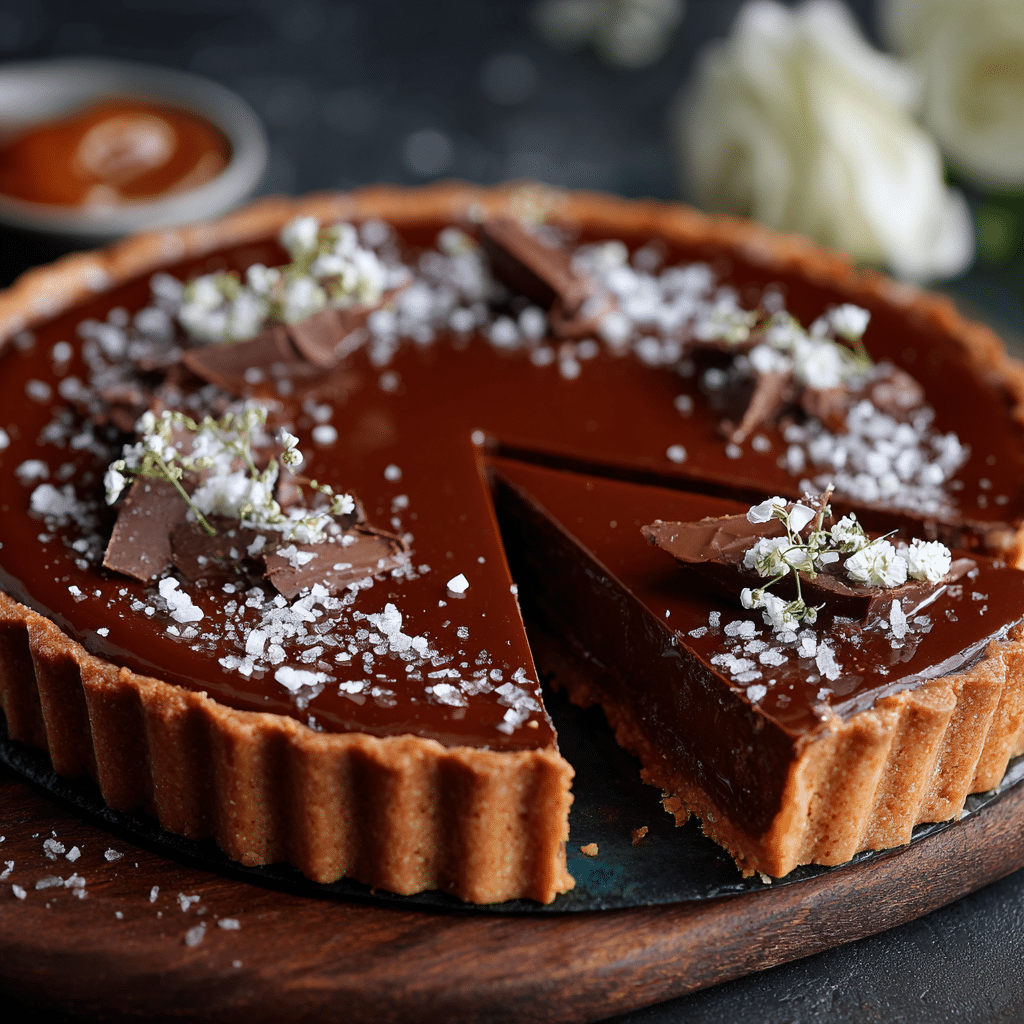
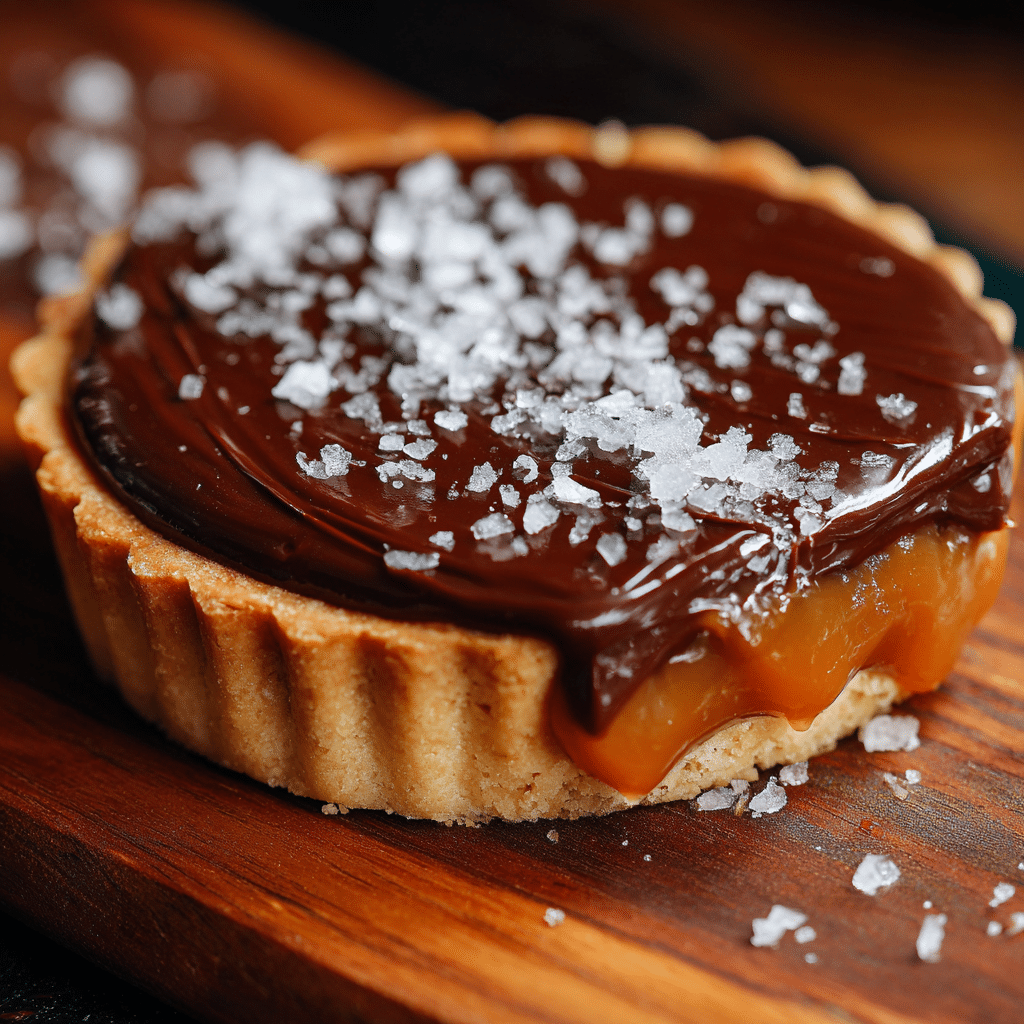
If you are looking to indulge in a dessert that is both elegant and irresistibly delicious, the Salted Caramel Chocolate Tart is an absolute showstopper. This lovely creation combines a crisp, buttery tart shell with a luxuriously smooth salted caramel layer, all enveloped by a rich, silky dark chocolate ganache. Each bite delivers a perfect balance of sweet, salty, and deep chocolate flavors that will have you swooning. Whether you’re treating yourself after a long day or impressing guests at your next gathering, the Salted Caramel Chocolate Tart is a celebration of texture and taste you won’t want to miss.
Ingredients You’ll Need
Getting the best from this Salted Caramel Chocolate Tart means using simple, quality ingredients that build layers of flavor, texture, and that inviting glossy finish. Each element plays a crucial role, from the buttery base to the luscious layers on top.
- Tart shell: A sturdy, buttery crust that provides the perfect crisp foundation for the filling.
- Salted caramel: The star of the show, offering a sweet and slightly salty contrast to the rich chocolate.
- Dark chocolate: Provides a deep, slightly bitter richness balancing the sweetness beautifully.
- Heavy cream: Essential for crafting the silky ganache topping that melts in your mouth.
How to Make Salted Caramel Chocolate Tart
Step 1: Prepare and Bake the Tart Shell
Start by rolling out your tart pastry evenly and pressing it gently into your tart pan. Chill it briefly before baking to help maintain shape. Bake until golden and firm, then let it cool completely. This crisp base will hold the luscious fillings without sogginess, giving each bite that desirable crunch.
Step 2: Make the Salted Caramel
While the tart shell cools, prepare your salted caramel. Keep an eye on the sugar as it melts to achieve a beautiful amber color without burning. Stir in butter, cream, and just the right amount of sea salt for that signature flavor that contrasts beautifully with the chocolate.
Step 3: Assemble the Tart
Pour the warm salted caramel into the cooled tart shell, spreading it evenly. Let this layer set slightly before moving on to the ganache, so the flavors stay distinct and the tart holds its structure.
Step 4: Prepare and Pour the Chocolate Ganache
Heat your heavy cream until steaming, then pour it over chopped dark chocolate. Let it sit for a minute, then stir until silky smooth. Pour this ganache over the caramel layer, smoothing out to cover the entire surface. This final layer adds richness and a glossy finish that makes the tart look as good as it tastes.
Step 5: Chill to Set
Place the assembled tart in the refrigerator for at least one hour. This chilling time allows the ganache to firm up beautifully and the flavors to meld together, resulting in a perfectly sliceable and decadent treat.
How to Serve Salted Caramel Chocolate Tart

Garnishes
A sprinkle of flaky sea salt on top highlights the salted caramel’s brilliance, while a dusting of cocoa powder or some delicate chocolate shavings adds an elegant touch. For a pop of color and freshness, consider adding fresh raspberries or a few mint leaves.
Side Dishes
Pair your Salted Caramel Chocolate Tart with a dollop of lightly whipped cream or a scoop of vanilla bean ice cream for extra indulgence. A cup of strong espresso or a glass of dessert wine can also elevate the experience beautifully.
Creative Ways to Present
Consider serving individual tart slices on pretty plates drizzled with caramel sauce for a restaurant-style presentation. Alternatively, create mini versions of this tart for parties, or add edible gold leaf for a stunning, festive statement.
Make Ahead and Storage
Storing Leftovers
Leftover Salted Caramel Chocolate Tart can be stored covered in the refrigerator for up to 3 days without losing its texture or flavor. Make sure to keep it airtight to prevent the crust from softening too much.
Freezing
You can freeze the tart for up to 1 month. Wrap it tightly in plastic wrap and foil to protect it from freezer burn. Thaw overnight in the fridge before serving for best results.
Reheating
This tart is best enjoyed chilled, but if you prefer a slightly softer ganache, let it sit at room temperature for 10-15 minutes before slicing and serving. Avoid microwaving, which can alter the texture of both the caramel and ganache layers.
FAQs
Can I use milk chocolate instead of dark chocolate?
Absolutely! Using milk chocolate will yield a sweeter ganache with a creamier texture, but the deep bittersweet notes you get from dark chocolate really help balance the salted caramel’s richness.
Is it possible to make the tart shell gluten-free?
Yes, you can substitute a gluten-free pastry crust using your favorite gluten-free flour blend. Just keep in mind that texture might vary slightly, so handle the dough gently to prevent crumbling.
Can I prepare the components separately in advance?
Definitely. You can bake the tart shell and prepare the salted caramel and ganache ahead of time. Assemble the tart a few hours before serving to keep everything fresh and perfectly set.
What type of salt works best for the salted caramel?
Flaky sea salt or Maldon salt is ideal because it dissolves nicely and adds a subtle crunch that enhances the flavor without overpowering the caramel.
How do I get a perfectly smooth ganache?
The key is to use high-quality chocolate and heat the cream just until steaming, not boiling. Pouring the cream over the chocolate and letting it sit before stirring helps achieve that glossy, smooth texture.
Final Thoughts
Making the Salted Caramel Chocolate Tart at home is such a rewarding experience—each step fills your kitchen with irresistible aromas and builds up the anticipation of tasting this divine dessert. It’s an incredible crowd-pleaser that combines classic flavors with a touch of sophistication. Don’t hesitate to give it a try; this tart will quickly become one of your all-time favorites and a go-to for special occasions or any time you want to treat yourself.