Chocolate Cupcakes Recipe
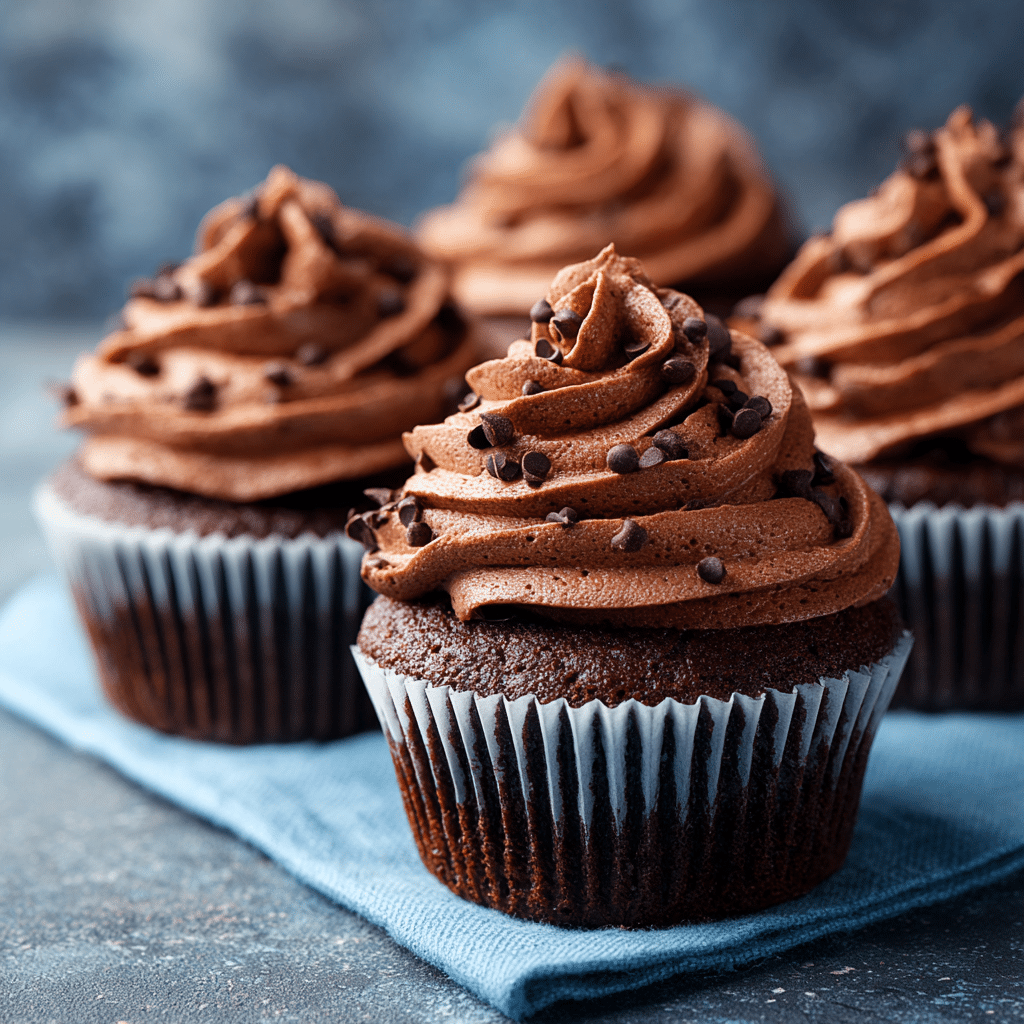
If you have a craving for something sweet, rich, and utterly comforting, these Chocolate Cupcakes will quickly become your go-to treat. Imagine small, moist cakes brimming with deep chocolate flavor, perfectly balanced in sweetness and texture. Whether you’re sharing them at a party or enjoying a quiet moment with a cup of coffee, Chocolate Cupcakes never fail to bring a smile. Their straightforward recipe means that even a novice baker can confidently whip up these delightful bites of chocolate heaven.
Ingredients You’ll Need
The magic of these Chocolate Cupcakes lies in the simplicity of the ingredients. Each component plays a crucial role: from the flour providing structure, to the cocoa infusing rich chocolate goodness, the sugar balancing sweetness, and the eggs lending moisture and binding the batter together.
- Flour: The foundation of your cupcakes, offering the right amount of structure to hold everything together while staying tender.
- Cocoa: This is your source of that unmistakable chocolate taste and beautiful color—choose a good quality unsweetened cocoa powder for best results.
- Sugar: Sweetens the cupcakes just enough without overpowering, also helping with moisture retention and tender crumb.
- Eggs: The natural binder that adds richness and helps the cupcakes rise beautifully.
How to Make Chocolate Cupcakes
Step 1: Prepare Your Batter
Start by sifting together the flour and cocoa powder to ensure there are no lumps. This not only lightens the mixture but also helps distribute the chocolate flavor evenly throughout your cupcakes. In a separate bowl, beat the eggs with the sugar until the mixture is light and fluffy—this will add air that results in tender cupcakes.
Step 2: Combine and Mix
Gently fold the dry ingredients into the wet mixture using a spatula, mixing carefully until just combined. Overmixing can make the cupcakes dense, so take your time and aim for a smooth, uniform batter without streaks of flour or cocoa.
Step 3: Fill and Bake
Line your cupcake trays with liners or grease them lightly. Fill each cup about two-thirds full with the batter to give the cupcakes room to rise without spilling over. Bake in a preheated oven at 350°F (175°C) for approximately 15 to 20 minutes, or until a toothpick inserted in the center comes out clean. The aroma of baking chocolate will soon fill your kitchen, inviting everyone to gather around.
How to Serve Chocolate Cupcakes
Garnishes
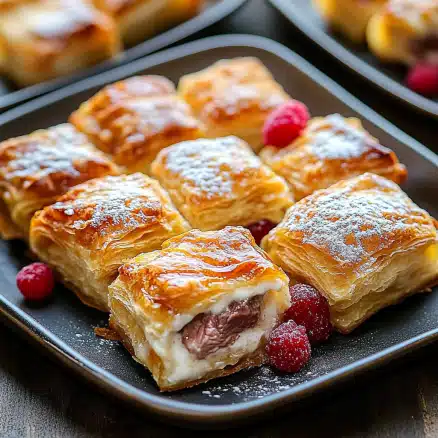
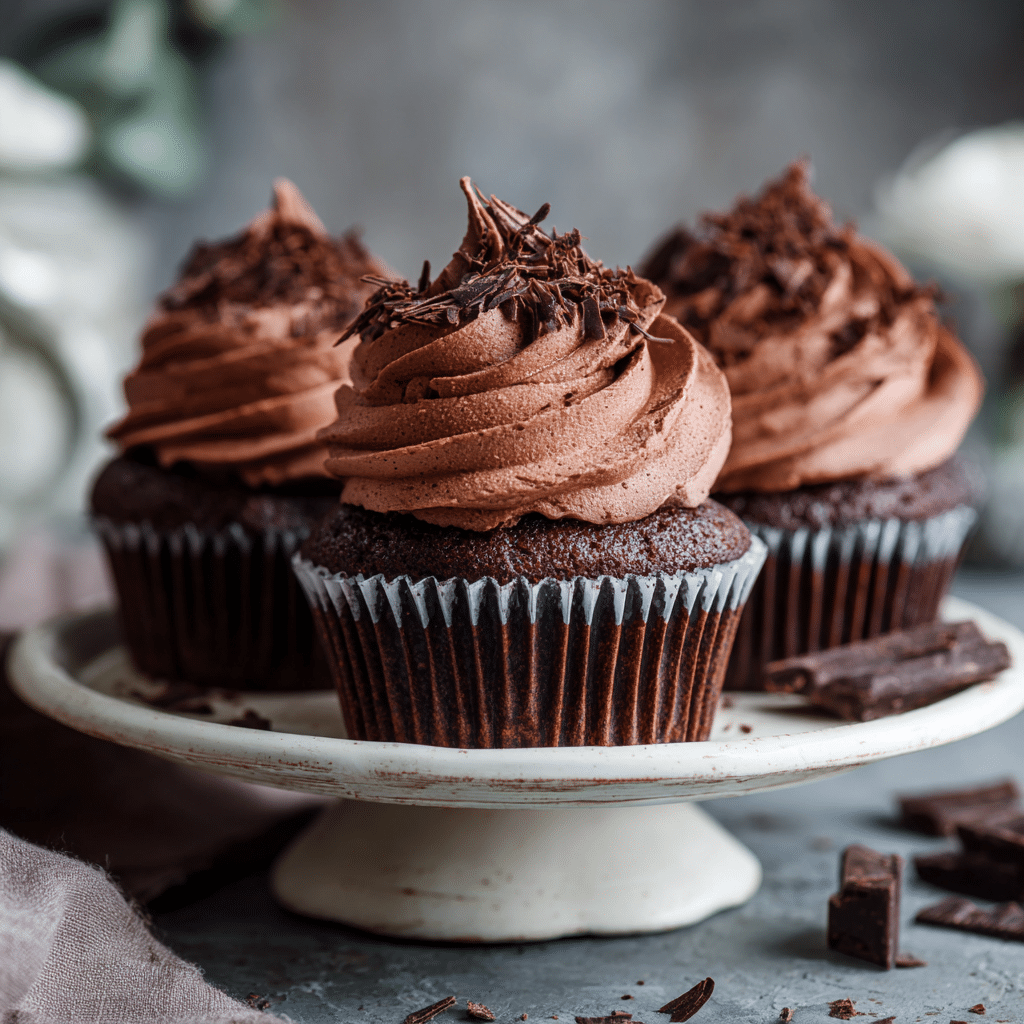
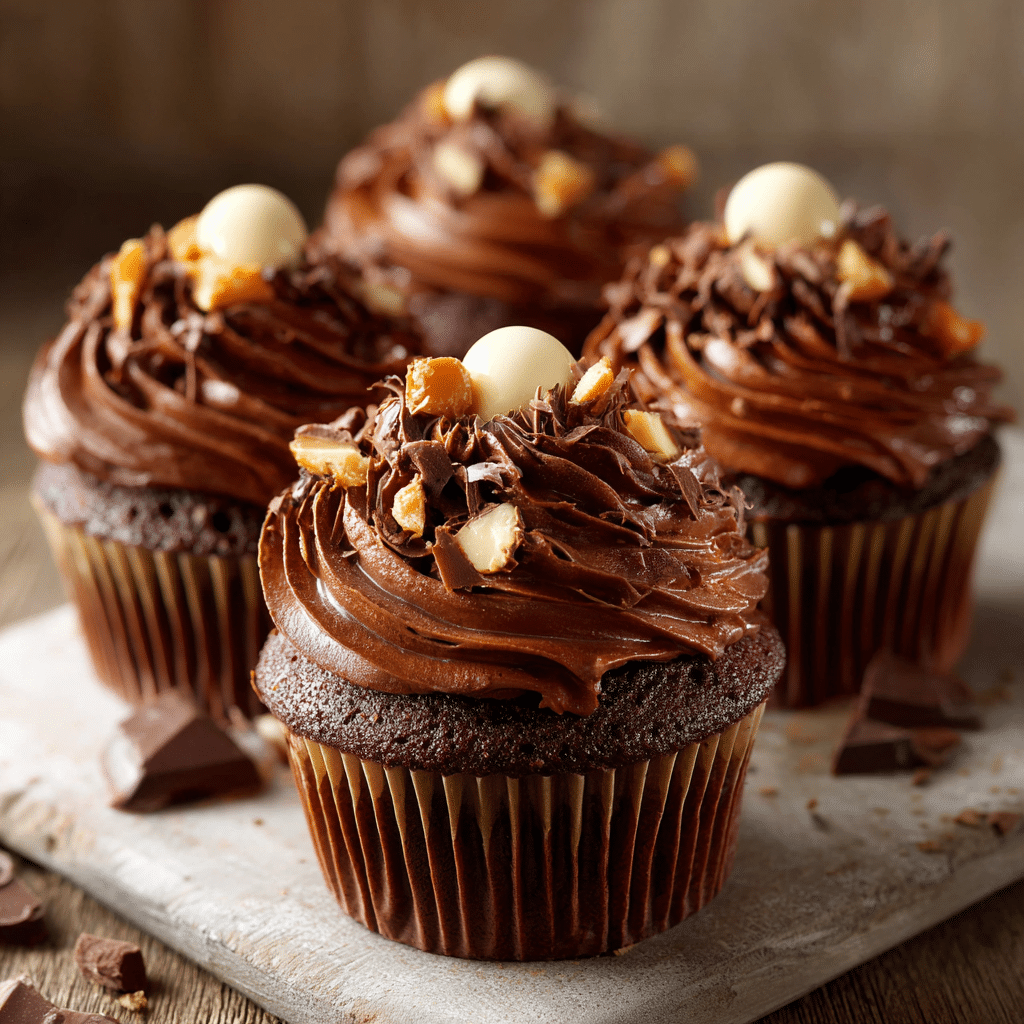
Simple is often perfect with Chocolate Cupcakes, but adding a swirl of frosting, a sprinkle of cocoa powder, or even a dusting of powdered sugar can elevate their look and flavor. Fresh berries or a few chocolate chips on top add a fresh burst of texture and taste. Don’t be shy with the garnishes; a little creativity goes a long way.
Side Dishes
Chocolate Cupcakes pair wonderfully with classic treats like vanilla ice cream or fresh fruit salad to balance the rich chocolate taste. For a special touch, serve alongside a creamy coffee or a glass of cold milk, which complements the cupcakes and makes for an indulgent break or dessert.
Creative Ways to Present
Try stacking Chocolate Cupcakes on a decorative platter for a visually stunning dessert table centerpiece. Wrapping each cupcake in colorful liners or decorating with themed toppers adds personality for celebrations. For an interactive twist, consider a cupcake decorating station where guests can personalize their treats with frosting and toppings.
Make Ahead and Storage
Storing Leftovers
If you find yourself with extra Chocolate Cupcakes, store them in an airtight container at room temperature for up to three days. This helps keep them moist and prevents them from drying out, making sure they taste just as fresh as when you baked them.
Freezing
Chocolate Cupcakes freeze beautifully, perfect for busy days or future cravings. Place them in a single layer on a baking sheet and freeze until solid, then transfer to a freezer-safe container or bag. They can last up to three months frozen without losing flavor or texture.
Reheating
To warm up frozen or refrigerated Chocolate Cupcakes, simply let them come to room temperature or microwave for about 15 seconds. This brings back that fresh-from-the-oven warmth without drying them out. Adding a small pat of butter or frosting before warming can add an extra touch of richness.
FAQs
Can I use baking powder or baking soda in this recipe?
While the basic recipe is simple, adding a small amount of baking powder can help the cupcakes rise more if you prefer a lighter texture. However, the eggs already help with leavening, so it’s optional depending on your preference.
What type of cocoa powder should I use?
For the best flavor, use unsweetened, natural cocoa powder. Dutch-processed cocoa can also be used but may affect the acidity of your batter, which could slightly change the rise and texture.
Can I add frosting to the Chocolate Cupcakes?
Absolutely! Frosting adds an extra layer of sweetness and creaminess. Classic choices like chocolate ganache, buttercream, or cream cheese frosting work wonderfully atop these cupcakes.
Are these cupcakes suitable for kids?
Yes, Chocolate Cupcakes are a kid-friendly treat. Just keep in mind that the rich chocolate flavor and sugar content mean they are a special dessert best enjoyed in moderation.
Can I make these cupcakes vegan or gluten-free?
To make a vegan version, substitute eggs with flax eggs or applesauce, and use plant-based milk or butter substitutes. For gluten-free, use a gluten-free flour blend in place of regular flour. Experimenting with these swaps can be fun and still yield tasty cupcakes.
Final Thoughts
Chocolate Cupcakes are truly a classic dessert that’s easy to make and impossible not to love. Their rich, chocolatey goodness is comforting and celebratory all at once. I encourage you to try this recipe as is, then make it your own with different toppings and presentations. Baking these cupcakes is a warm, joyful experience that will fill your kitchen with sweetness and happiness every single time.