Mini Fruit Parfaits Recipe
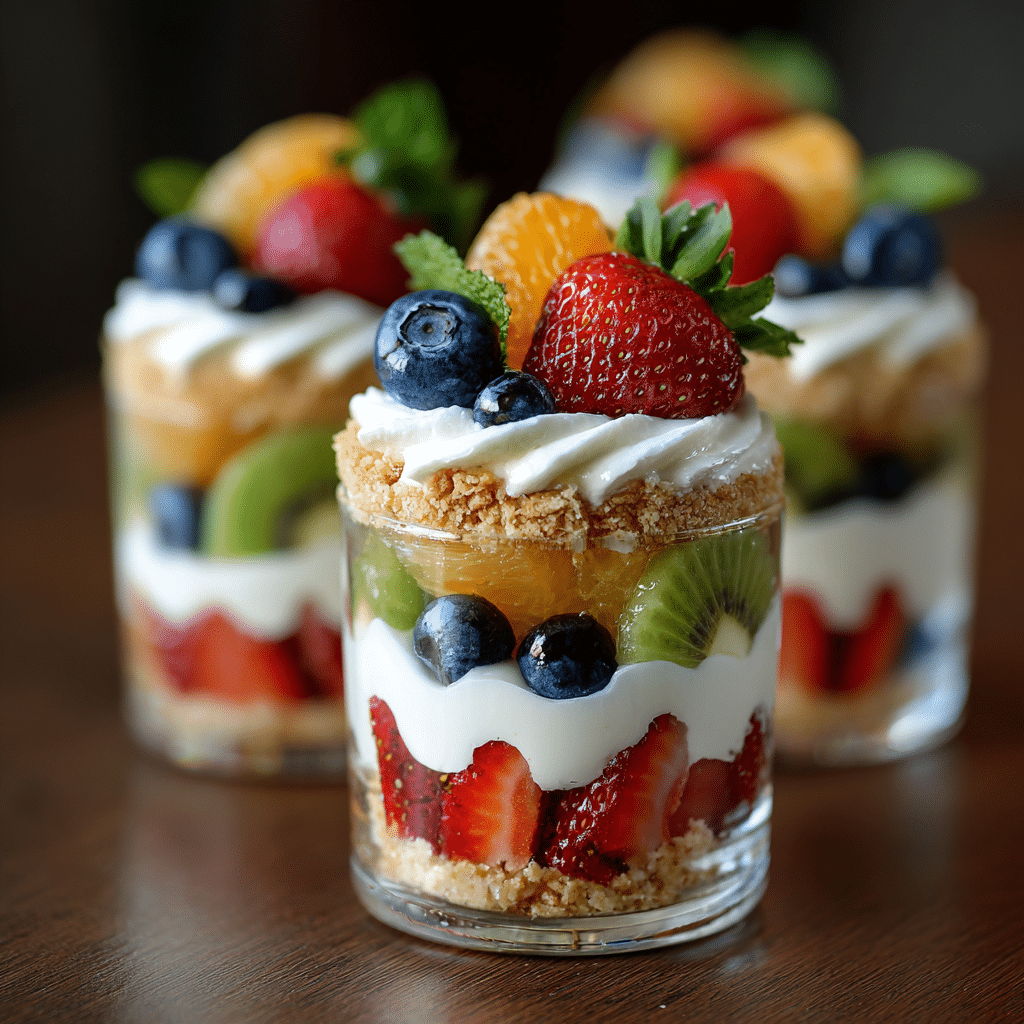
If you’re craving a dessert that feels both indulgent and refreshingly light, this Mini Fruit Parfaits Recipe is exactly what you need. Imagine the creaminess of Greek yogurt, the satisfying crunch of granola, and the vibrant burst of juicy mixed berries all layered together in a perfect little glass—each spoonful bursts with flavor and texture. It’s a versatile treat that works just as well for breakfast, a snack, or a show-stopping dessert. The simplicity of the ingredients belies the sophistication of the flavor profile, making these parfaits a personal favorite to whip up anytime you want to impress without stress.
Ingredients You’ll Need
Gathering the right ingredients is the first step toward these delightful treats. Each component is simple but plays an essential role in balancing taste, texture, and color. Fresh ingredients and quality yogurt make all the difference in bringing this Mini Fruit Parfaits Recipe to life.
- Greek yogurt: Choose a creamy, plain Greek yogurt for richness and protein that acts as the perfect base.
- Granola: Adds a satisfying crunch and a touch of sweetness that contrasts beautifully with the smooth yogurt.
- Mixed berries: Use a vibrant assortment of strawberries, blueberries, and raspberries for bursts of freshness and color.
- Honey: A natural sweetener to drizzle on top, enhancing the flavors without overpowering the delicate balance.
How to Make Mini Fruit Parfaits Recipe
Step 1: Prepare Your Ingredients
Start by washing and gently drying your mixed berries to ensure they’re fresh and vibrant. If you’re using larger berries like strawberries, chop them into bite-sized pieces. Set aside your Greek yogurt and granola so everything is ready to assemble the parfaits effortlessly.
Step 2: Layer the Yogurt
Grab your favorite small glasses or jars and add a generous spoonful of Greek yogurt as the first layer. This creamy base provides the foundation for your parfait, so be sure to spread it evenly for that beautiful, Instagram-ready look.
Step 3: Add the Crunch with Granola
Next, sprinkle a layer of granola over the yogurt. This crunchy layer not only adds texture but also introduces a toasty flavor that complements the creaminess and fruit perfectly.
Step 4: Add Fresh Berries
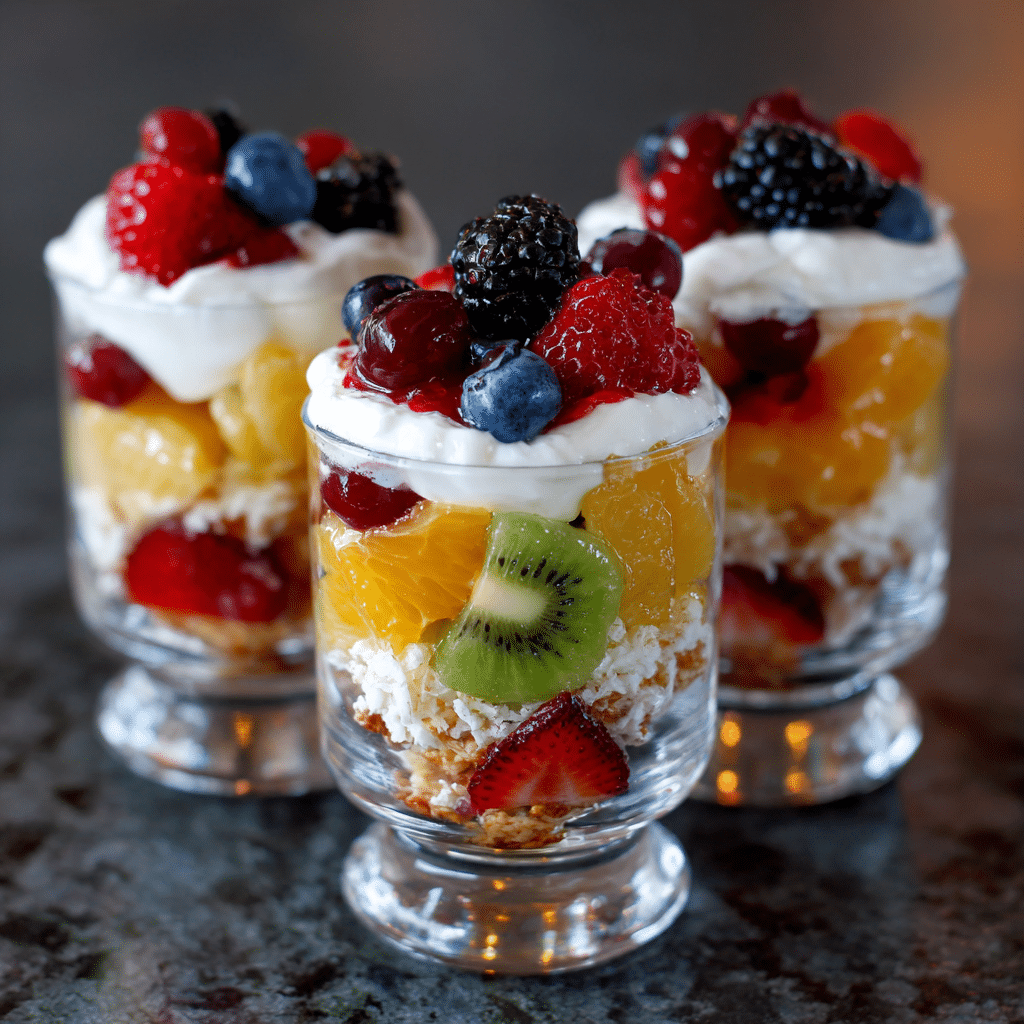
Now, crown your parfait with a mix of those colorful, fresh berries. Their natural sweetness and slight tartness bring brightness and a juicy burst that makes every bite exciting and refreshing.
Step 5: Drizzle with Honey
Finish with a delicate drizzle of honey on top. It adds a floral sweetness that ties all the layers together beautifully. For a little extra flare, you can gently swirl the honey into the top layer of yogurt before adding more granola or fruit.
Step 6: Chill and Serve
Place your parfaits in the refrigerator for at least 15 minutes. This chilling step lets the flavors meld slightly and the granola maintain a bit of crunch without going soggy. Serve these chilled for the ultimate refreshing treat.
How to Serve Mini Fruit Parfaits Recipe
Garnishes
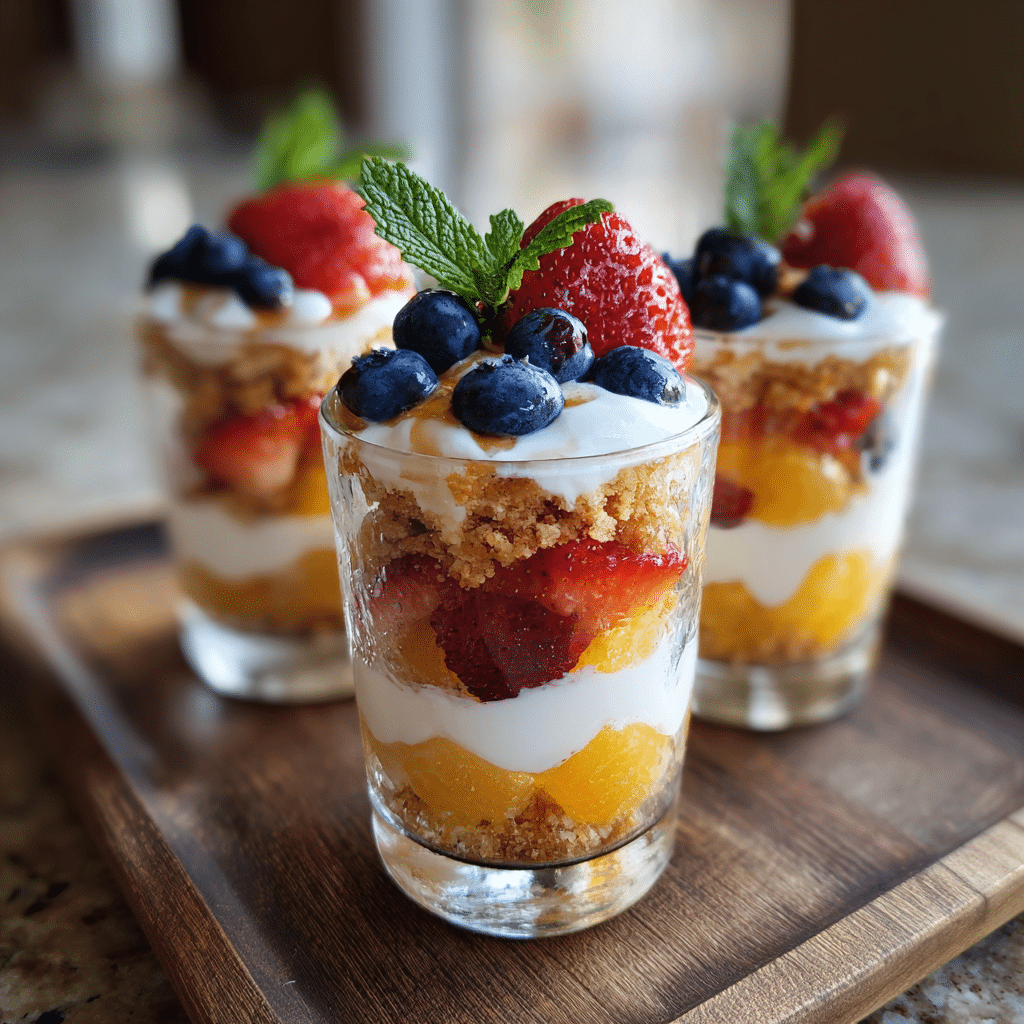
To elevate your Mini Fruit Parfaits Recipe, top with a sprig of fresh mint or a few thinly sliced almonds for an elegant crunch. A light dusting of cinnamon or cocoa powder can also add an unexpected twist that complements the natural sweetness of the dish.
Side Dishes
These parfaits shine as a standalone treat, but they pair wonderfully with light sides like a crisp green salad or a mini quiche for brunch. The contrast between savory and sweet makes your meal feel balanced and exciting.
Creative Ways to Present
Try layering your parfaits in clear shot glasses for a party appetizer or use mason jars for a rustic feel perfect for picnics and casual gatherings. You can also assemble them in taller glasses for a more dramatic, layered effect that looks stunning on any dessert table.
Make Ahead and Storage
Storing Leftovers
If you have leftovers, cover your parfaits tightly with plastic wrap or an airtight lid and store them in the refrigerator. It’s best to enjoy them within 24 hours, as the granola will start to lose its crunch and the fruit can release juices that may soften the layers.
Freezing
Freezing is not recommended for these parfaits because the texture of fresh fruit and granola changes significantly when frozen and thawed. The yogurt might also separate, resulting in a less appetizing experience.
Reheating
Since Mini Fruit Parfaits Recipe is best enjoyed chilled, reheating is unnecessary and would detract from its refreshing qualities. Just take them out of the fridge a few minutes before serving to soften the yogurt slightly if needed.
FAQs
Can I use flavored yogurt instead of plain Greek yogurt?
You absolutely can! Flavored yogurts can add an extra layer of taste, but keep in mind they may be sweeter, so adjust the honey accordingly to avoid overpowering the fruit.
What types of granola work best for this recipe?
Any granola with nuts and seeds works wonderfully to add crunch and nutrition. Choose one without too much added sugar to keep the parfait balanced and fresh.
Can I substitute other fruits instead of mixed berries?
Definitely! Mini Fruit Parfaits Recipe is flexible—you can use peaches, mangoes, kiwi, or whatever fruits are in season to keep things interesting and colorful.
How far in advance can I prepare these parfaits?
It’s best to assemble the parfaits just a couple of hours before serving to keep the granola crunchy and the fruit fresh, although you can prepare the components separately ahead of time.
Are these parfaits suitable for a vegan diet?
You can make them vegan-friendly by swapping Greek yogurt for coconut or almond-based yogurt and replacing honey with maple syrup or agave nectar.
Final Thoughts
I can’t recommend this Mini Fruit Parfaits Recipe enough if you want a dessert that looks spectacular, tastes balanced and fresh, and comes together with minimal effort. It’s a dish that always impresses guests and feels like a little celebration in every bite. So next time you want to treat yourself or share a special moment with friends, give this recipe a try—your taste buds will thank you.