Pineapple Cheesecake Dessert Cups Recipe
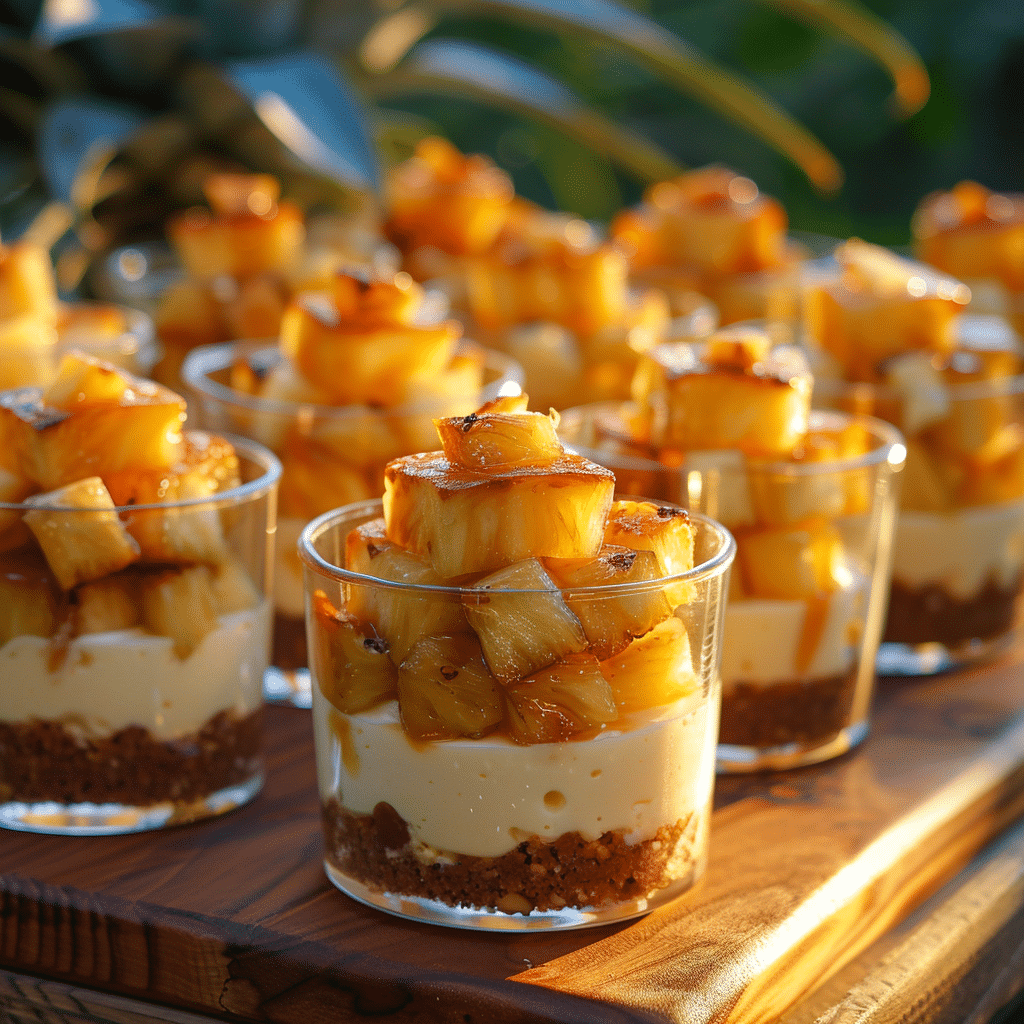
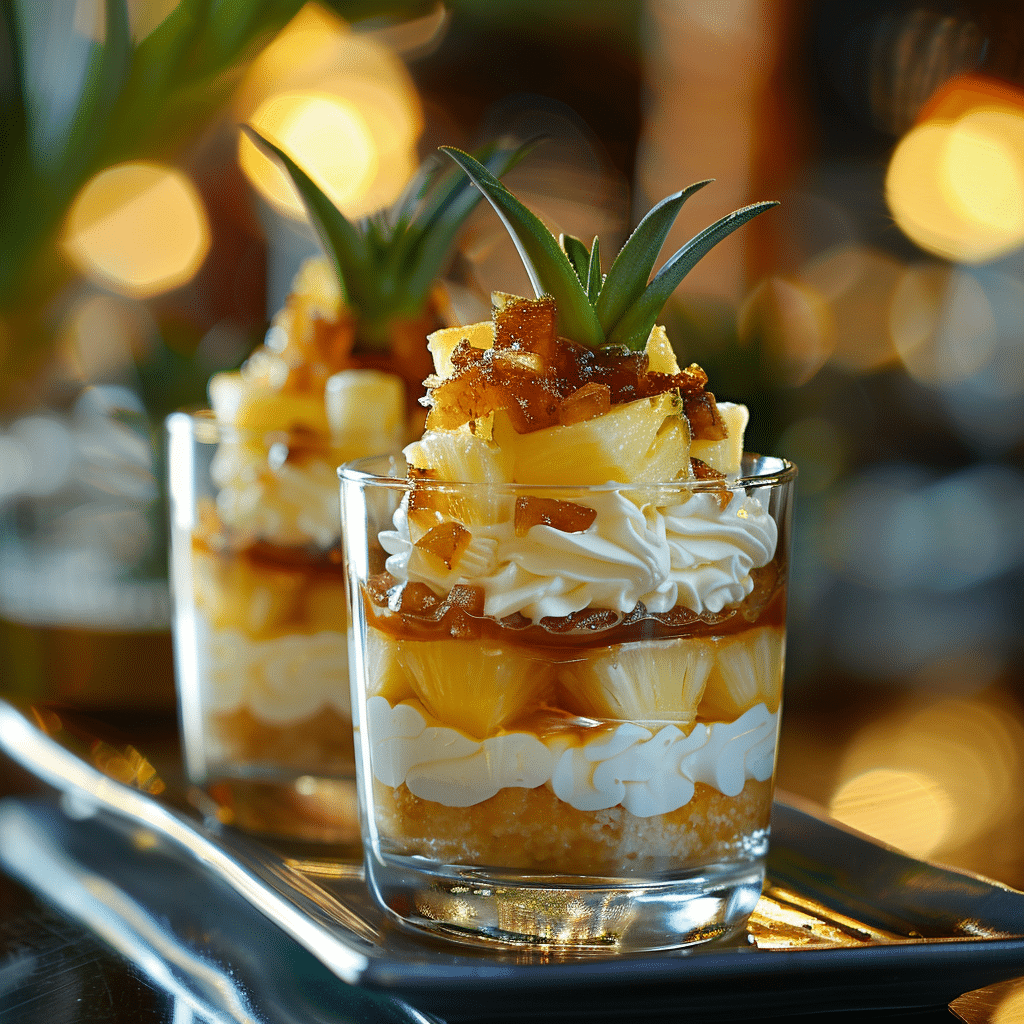
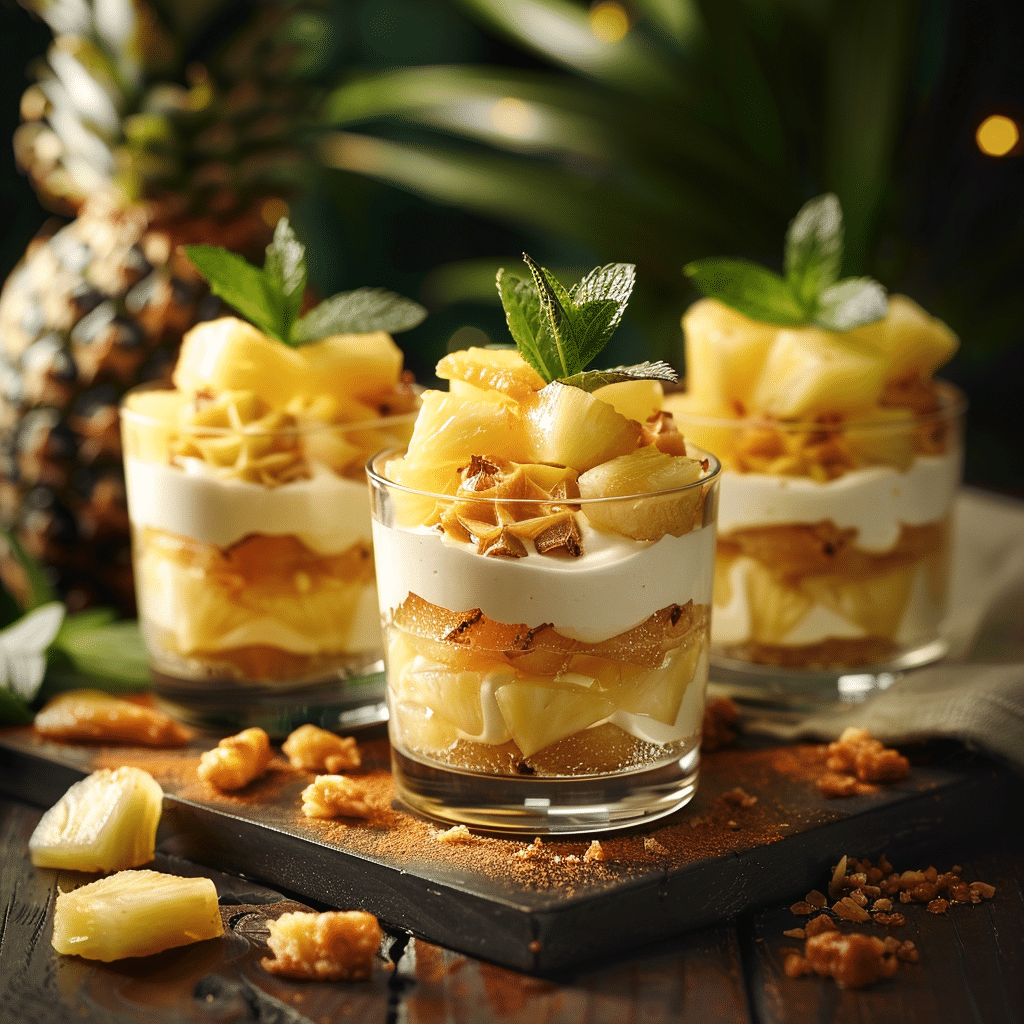
If you’re on the lookout for a delightful treat that’s as charming as it is irresistible, these Pineapple Cheesecake Dessert Cups Recipe hits every note perfectly. Imagine velvety cream cheese filling mingling with juicy pineapple chunks, all nestled atop a crunchy vanilla wafer base, served in individual cups that make each bite a mini celebration. This dessert perfectly balances creamy richness with tropical zest, making it a sure crowd-pleaser any time of year. Whether for a casual get-together or a festive occasion, these cups bring sunshine and sweetness to your table effortlessly.
Ingredients You’ll Need
The magic behind these Pineapple Cheesecake Dessert Cups Recipe lies in their simplicity. Each ingredient plays a crucial role, contributing to the luscious texture, vibrant flavor, and satisfying crunch you’ll adore.
- Cream cheese: The creamy foundation that gives these cups their classic cheesecake smoothness and tang.
- Pineapple chunks: Juicy and bright, they bring the perfect tropical burst that wakes up your taste buds.
- Sugar: A touch of sweetness that balances the tangy cream cheese and tart pineapple.
- Vanilla wafers: Crushed for a buttery, crisp base that adds delightful texture contrasts.
- Whipped cream: Light and fluffy topping that crowns the dessert with softness and elegance.
How to Make Pineapple Cheesecake Dessert Cups Recipe
Step 1: Prepare the Cheesecake Filling
Start by beating the cream cheese until it’s incredibly smooth and creamy. Slowly add sugar to sweeten, then fold in a little whipped cream if you want an extra fluffy texture. This filling sets the luxurious tone for the entire dessert.
Step 2: Layer the Vanilla Wafer Crust
Crush the vanilla wafers finely but not into crumbs; a bit of crunch adds great texture. Place a small handful at the bottom of each dessert cup to create a crunchy base that contrasts beautifully with the creamy layer to come.
Step 3: Add a Layer of Pineapple
Next, carefully spoon pineapple chunks over the wafer crust. The freshness and tropical zing of the pineapple bring an irresistible pop that complements the tangy cream cheese filling wonderfully.
Step 4: Assemble the Cups
Layer the cheesecake filling over the pineapple chunks in each cup. Alternating layers if you like, but be sure to finish with a smooth, thick cheesecake topping so every bite has that rich creaminess.
Step 5: Chill Before Serving
Refrigerate the cups for at least two hours to let all the flavors meld and the cheesecake filling set into that perfect, spoonable texture. This step is crucial for getting that authentic cheesecake feel.
How to Serve Pineapple Cheesecake Dessert Cups Recipe
Garnishes
For a show-stopping presentation, top each cup with a dollop of whipped cream and a small pineapple chunk or a sprinkle of crushed vanilla wafers. A touch of toasted coconut or a fresh mint leaf can elevate the tropical vibe beautifully.
Side Dishes
These dessert cups are perfect to follow light, summery meals like grilled chicken or fish, or alongside a fresh fruit salad. Their bright, creamy texture helps refresh the palate and brings a sweet finish without feeling heavy.
Creative Ways to Present
Try serving the Pineapple Cheesecake Dessert Cups Recipe in clear glass jars or colorful mini mason jars for a rustic yet chic feel. Layer them in small trifle bowls for family-style sharing or use mini spoons in small shot glasses for party bites that are both elegant and playful.
Make Ahead and Storage
Storing Leftovers
Leftover dessert cups can be tightly covered with plastic wrap or stored in airtight containers in the fridge for up to three days. This keeps the textures intact and the flavors fresh, so you can enjoy them again later without any loss of quality.
Freezing
This dessert doesn’t freeze well because the pineapple releases water that can affect texture upon thawing, and the wafer crust will lose its crunch. It’s best to enjoy the cups fresh or refrigerated within a few days.
Reheating
Since this dessert is meant to be served chilled and contains no cooked elements, reheating isn’t recommended. Simply take it out of the fridge a few minutes before serving to slightly soften the cheesecake filling if needed.
FAQs
Can I use crushed cookies other than vanilla wafers?
Absolutely! Graham crackers or digestive biscuits work well too. Just keep in mind that vanilla wafers add a sweet, buttery note that pairs beautifully with pineapple, so other options will slightly change the flavor profile.
Is there a dairy-free alternative for the cream cheese?
Yes, you can use plant-based cream cheese made from nuts or soy. Just pick one with a texture close to regular cream cheese to maintain that creamy, rich feel in the dessert.
How ripe should the pineapples be?
Choose ripe but firm pineapple chunks to avoid a mushy texture in the cups. Fresh or canned pineapple both work well but fresh will give the best flavor.
Can I make these dessert cups sugar-free?
Yes, substitute the sugar with a natural sweetener like stevia or monk fruit to keep the sweetness while cutting down on sugar content. The pineapple’s natural sugars help keep the overall taste balanced.
How long do I need to chill the dessert cups?
At least two hours is ideal to let the cheesecake filling set properly and to allow the flavors to meld deliciously. Overnight refrigeration is also perfect if you want to prepare ahead of time.
Final Thoughts
These Pineapple Cheesecake Dessert Cups Recipe are pure joy in miniature form—easy to make, stunning to serve, and a guaranteed hit every time. Their perfect blend of creamy, crunchy, and tropical notes makes every spoonful feel like a vacation for your taste buds. I can’t wait for you to try this recipe and share these irresistible cups with your loved ones. Trust me, it won’t be long before this becomes a favorite in your dessert rotation!