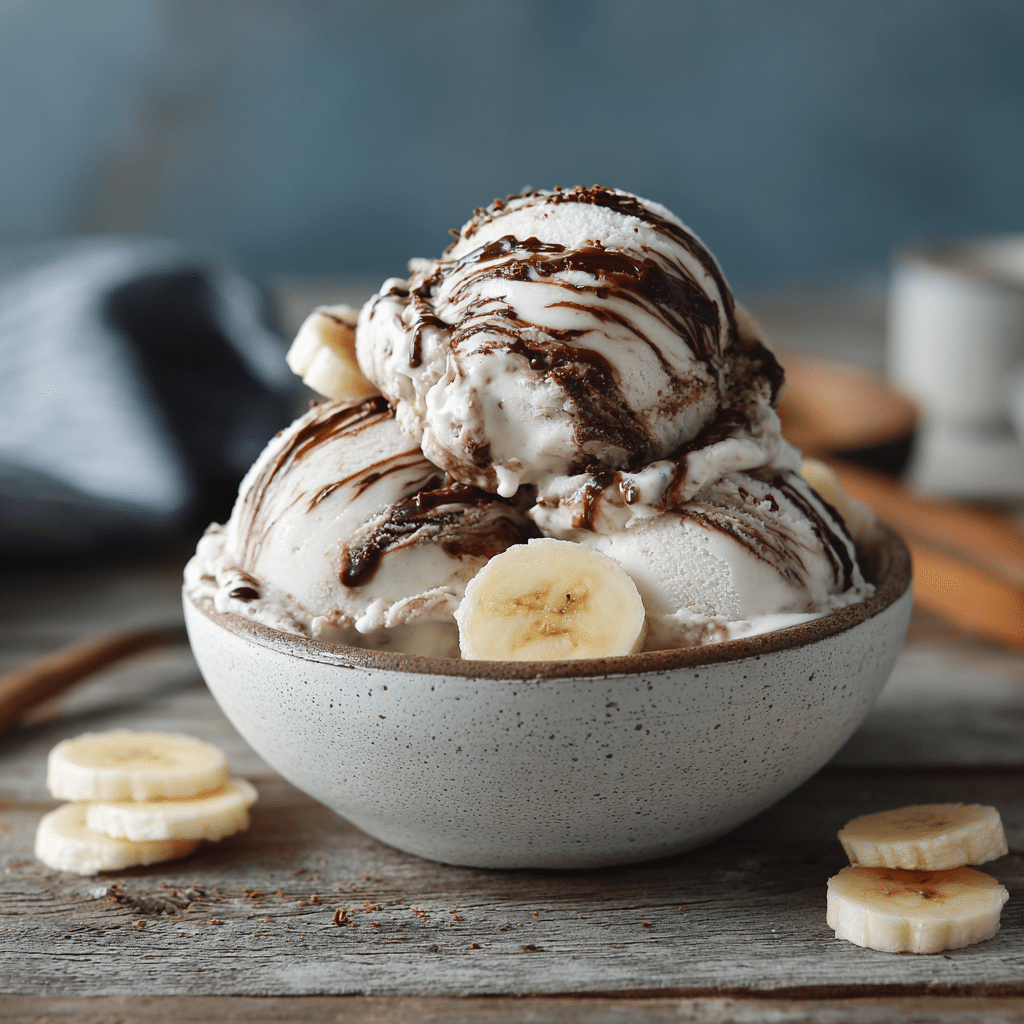
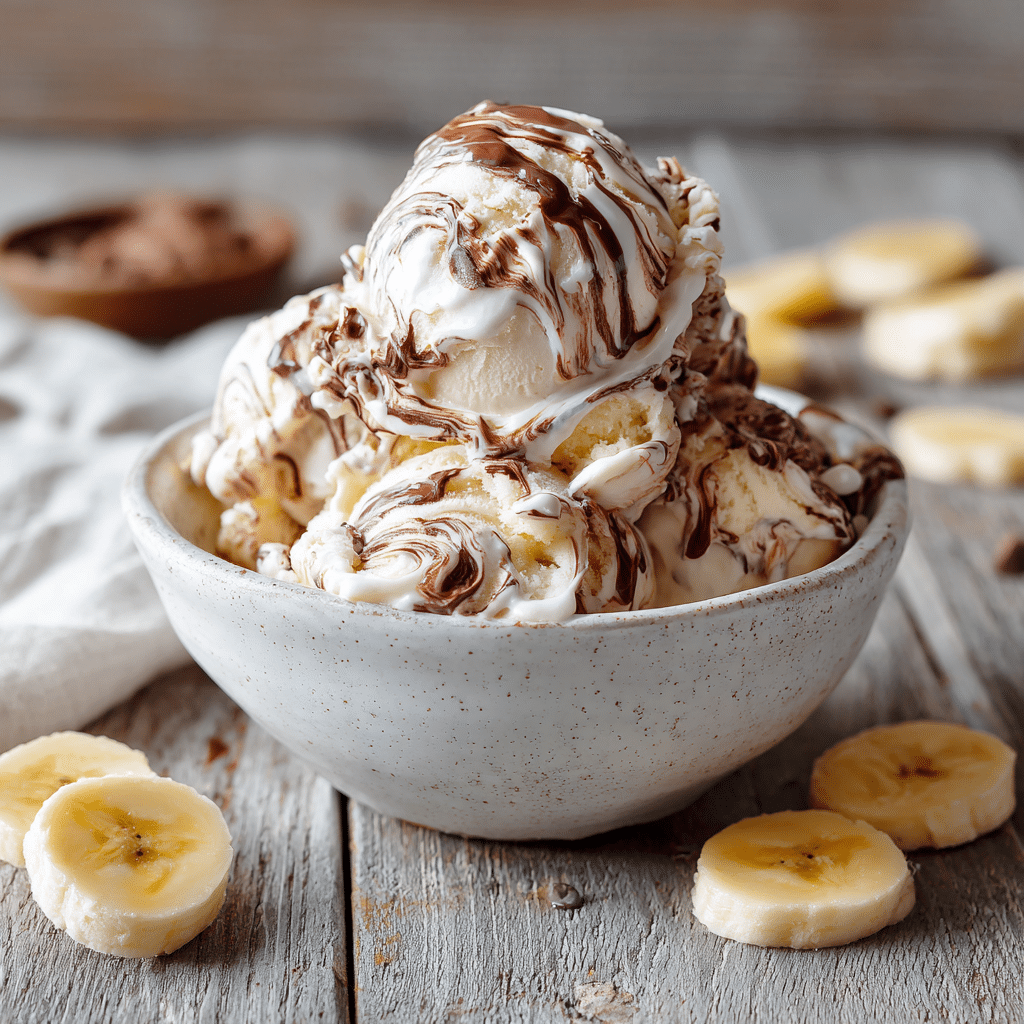
Chocolate Banana Ice Cream (No-Churn) Recipe
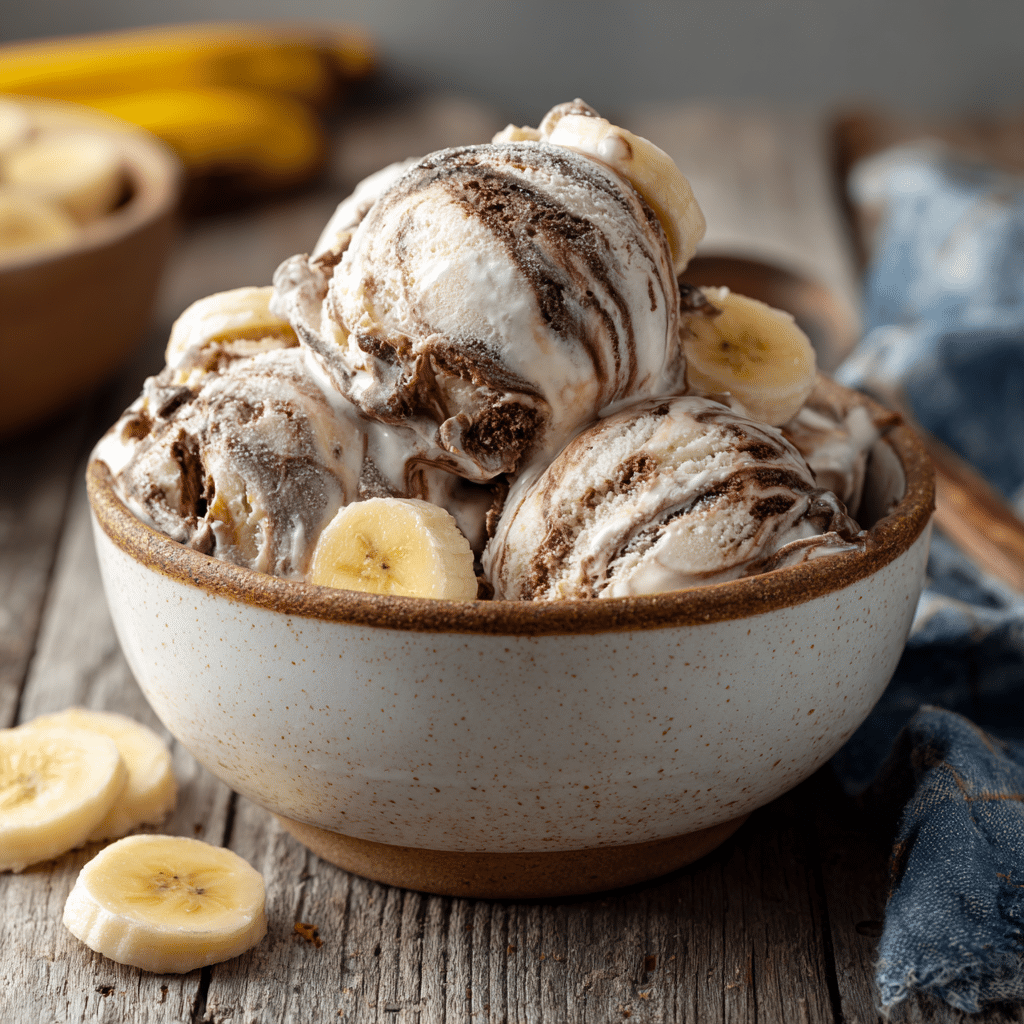
If you have a serious sweet tooth but want to skip the fuss of churning machines and complicated recipes, this Chocolate Banana Ice Cream (No-Churn) is about to become your new best friend. Imagine a luscious, creamy dessert that combines the rich depth of cocoa with the natural sweetness of bananas, all whipped up in minutes and ready to enjoy after a short freeze. It’s delightfully simple yet impressively indulgent, making it the perfect treat whether you’re craving comfort or looking to impress guests with something healthy and homemade.
Ingredients You’ll Need
Getting started with this Chocolate Banana Ice Cream (No-Churn) means gathering just a handful of humble ingredients that each play a big role in the final taste and texture. Every item is chosen for its ability to bring natural creaminess, sweetness, and that iconic chocolate kick without any added sugar or preservatives.
- 3 frozen bananas: These are the base of the ice cream, offering a creamy texture and natural sweetness that eliminates the need for any added sugar.
- 2 tablespoons cocoa powder: Unsweetened cocoa provides the deep, rich chocolate flavor that defines this dessert.
- 2 tablespoons milk: A little milk helps blend everything smoothly, contributing to the creamy consistency you crave.
- Chocolate chips (optional): For extra bursts of chocolate crunch, toss some in before serving or swirl into the mixture.
How to Make Chocolate Banana Ice Cream (No-Churn)
Step 1: Blend the Frozen Bananas
The magic starts here. Toss your frozen bananas into a blender or food processor and blend until they reach a smooth, creamy consistency that looks just like soft serve. This step is crucial because the bananas act as the natural cream base, and their frozen state gives you the ice-cream-like texture without any heavy cream or sugar.
Step 2: Add Cocoa and Milk, Then Blend Again
Once your bananas are velvety smooth, add in the unsweetened cocoa powder and milk. These ingredients bring the chocolatey richness and help perfect the texture, making the dessert just right—not too thick and not too icy. Blend everything together until fully combined and silky.
Step 3: Freeze for the Ideal Texture
For a scoopable, firm ice cream experience, transfer your mixture into a container and pop it in the freezer for 2 to 3 hours. This step lets the flavors meld and the texture solidify, delivering a satisfyingly cool treat that’s ready whenever you need a chocolate fix.
How to Serve Chocolate Banana Ice Cream (No-Churn)
Garnishes
Elevate your Chocolate Banana Ice Cream (No-Churn) with some simple garnishes that add texture and brighten the presentation. Fresh berries, a sprinkle of crushed nuts like almonds or pistachios, or even a drizzle of honey work beautifully. If you’re feeling fancy, a dusting of extra cocoa powder or a few chocolate chips on top adds a pretty and delicious finish.
Side Dishes
Think of this ice cream as a glorious finale to a warm, comforting meal. It pairs wonderfully with sliced fresh fruit, a crispy cookie, or even a small wedge of chocolate cake for those who want to double down on chocolate decadence. It also stands alone splendidly for those simple moments when you just want a quick, satisfying bite.
Creative Ways to Present
Why not turn this simple dessert into a showstopper? Serve the Chocolate Banana Ice Cream (No-Churn) in elegant glass cups with layered chocolate sauce and fresh mint leaves. You can also freeze the ice cream in popsicle molds for fun, kid-friendly treats or sandwich a scoop between two chocolate chip cookies for an irresistible homemade ice cream sandwich.
Make Ahead and Storage
Storing Leftovers
Leftover Chocolate Banana Ice Cream (No-Churn) keeps well in an airtight container in the freezer. Be sure to press a piece of parchment paper on the surface before sealing to prevent ice crystals from forming and to keep that silky texture intact.
Freezing
This recipe is naturally designed to be frozen, and it freezes beautifully. For best results, store the ice cream in a shallow container to allow even freezing. When you’re ready to indulge, simply scoop straight from the freezer.
Reheating
No reheating needed here! If your ice cream becomes too firm, just let it sit at room temperature for 5 to 10 minutes to soften slightly for easier scooping. This quick thaw helps it regain that perfect creamy mouthfeel.
FAQs
Can I use fresh bananas instead of frozen for this recipe?
Fresh bananas won’t give you the creamy texture that frozen ones provide. To keep the no-churn magic, always freeze your bananas before blending.
Is this recipe suitable for dairy-free diets?
Absolutely! Simply swap out regular milk for your favorite plant-based milk like almond, oat, or coconut to keep it completely dairy-free and just as delicious.
Can I add other flavors to the Chocolate Banana Ice Cream (No-Churn)?
Yes! Vanilla extract, a pinch of cinnamon, or even a spoonful of peanut butter can add exciting layers of flavor without complicating the process.
How long can I store the ice cream in the freezer?
For the best taste and texture, enjoy your ice cream within 1 to 2 weeks. It may develop ice crystals if stored longer, but it will still be safe to eat.
Can I use a hand blender to make this ice cream?
A strong blender or food processor is best to achieve the smooth texture, but if you have a powerful hand blender, it can work as long as you blend thoroughly and scrape down the sides.
Final Thoughts
I wholeheartedly encourage you to give this Chocolate Banana Ice Cream (No-Churn) a try, whether you’re a beginner in the kitchen or a seasoned dessert lover. It’s a joy to make, endlessly adaptable, and so satisfying to eat, proving that sometimes the simplest recipes bring the biggest smiles. Get ready to scoop up happiness that’s not only delicious but also guilt-free and naturally sweetened!