No-Bake Berry Yogurt Cups Recipe
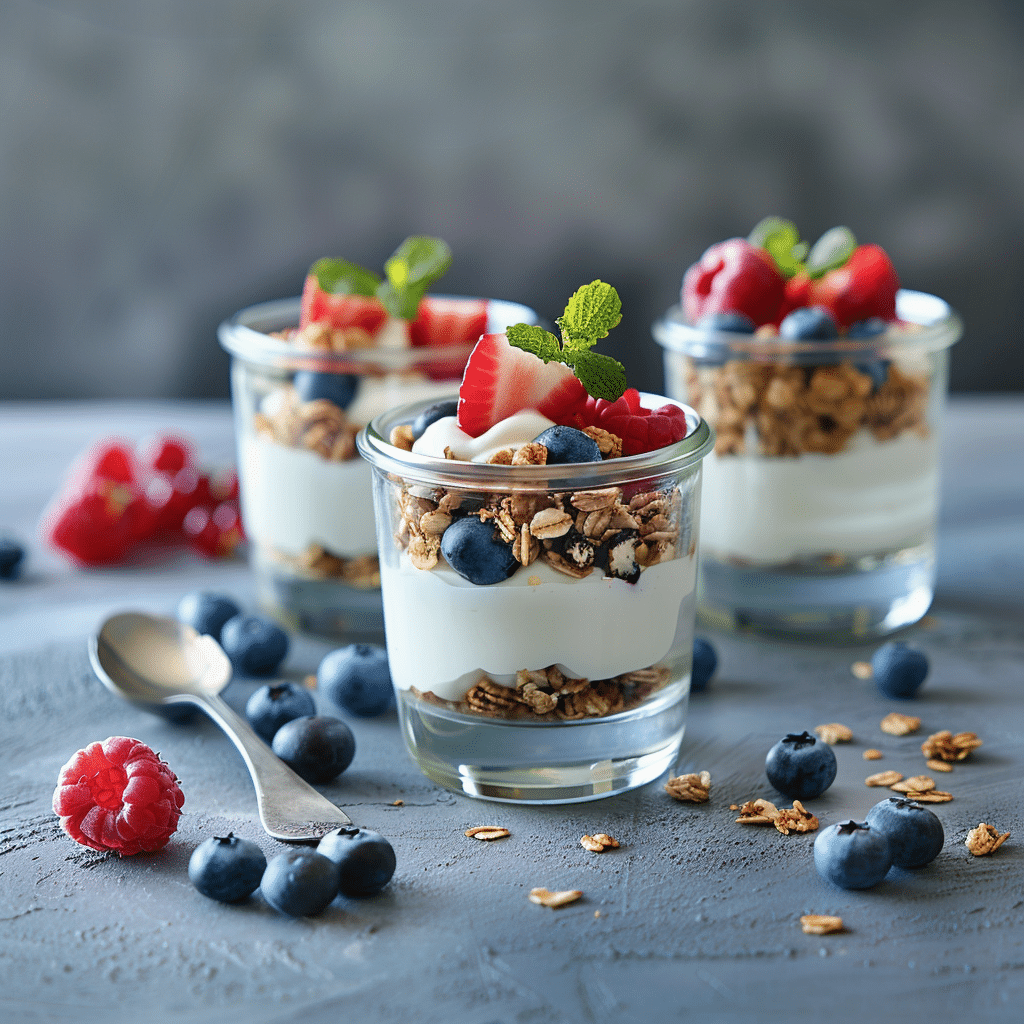
There’s something truly uplifting about diving into a fresh, vibrant dessert that looks as delightful as it tastes. The No-Bake Berry Yogurt Cups are exactly that kind of treat—light, refreshing, and full of natural goodness. With juicy berries, creamy yogurt, and a satisfying crunch of granola layered perfectly, this dessert is not only visually stunning but also so easy to whip up. It’s a wonderful way to enjoy a guilt-free indulgence, perfect for anytime you crave something sweet without heaviness or fuss in the kitchen.
Ingredients You’ll Need
Gathering the ingredients for this recipe is a breeze, yet each one plays a crucial role in creating the perfect bite. From the creamy tang of the yogurt to the burst of fresh berries and that irresistible granola crunch, every element adds its own charm to the final dish.
- 1 cup yogurt: Choose your favorite plain or flavored yogurt; Greek yogurt adds a thicker texture and protein boost.
- 1/2 cup berries: Fresh or frozen blueberries, strawberries, raspberries, or a mix; they bring juicy sweetness and vibrant color.
- Granola: Adds a delightful crunch and a bit of wholesome sweetness that pairs perfectly with the creamy and fruity layers.
How to Make No-Bake Berry Yogurt Cups
Step 1: Prepare Your Ingredients
Start by washing your berries carefully if fresh, and patting them dry so they stay vibrant and don’t water down the yogurt. If using frozen berries, let them thaw slightly for the best texture. Scoop the yogurt into a bowl and give it a gentle stir to make sure it’s smooth and ready to layer.
Step 2: Layer the First Yogurt Base
Grab your serving cups or glass jars, and spoon a generous layer of yogurt at the bottom. This creamy foundation will support the berries and granola as you build the parfait, ensuring each bite starts with that smooth, satisfying texture.
Step 3: Add the Berry Layer
Scatter a handful of your colorful berries over the yogurt. This layer brings natural sweetness and a touch of tartness, creating a refreshing contrast that makes the dessert so lively and enjoyable.
Step 4: Sprinkle the Granola
Finish the layering by sprinkling crunchy granola on top. This adds a wonderful texture and a hint of caramelized flavor that complements both the creamy yogurt and the juicy berries beautifully.
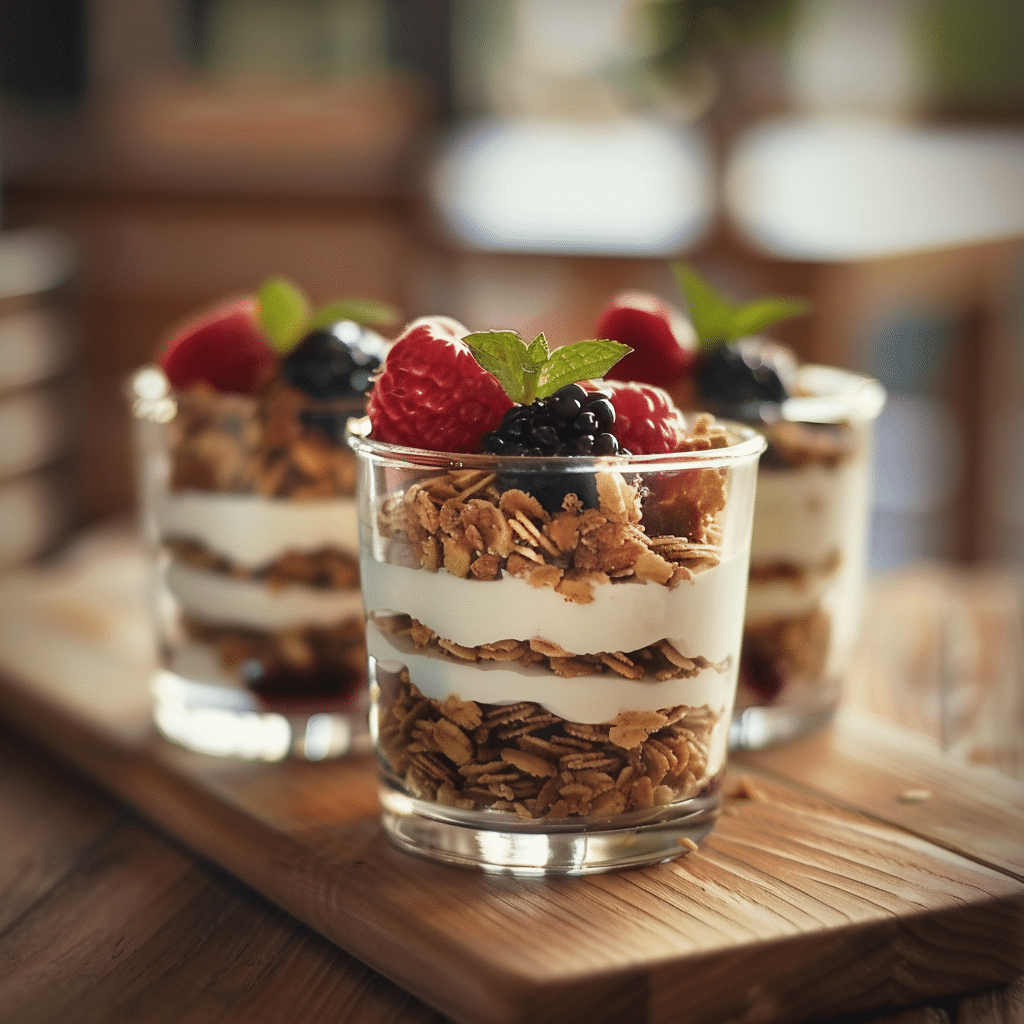
Step 5: Repeat for Extra Layers (Optional)
If your cups are tall and you want to make a more impressive presentation, simply repeat the yogurt, berry, and granola layers until the cup is filled. This not only looks stunning but enhances the eating experience with alternating textures and flavors throughout.
How to Serve No-Bake Berry Yogurt Cups
Garnishes
To elevate your No-Bake Berry Yogurt Cups, sprinkle a few extra berries or a small drizzle of honey on top. A light dusting of cinnamon or a sprinkle of chopped nuts can also add depth and interest, making each cup as inviting as possible.
Side Dishes
While these cups can stand beautifully on their own, pairing them with a light tea or a fresh fruit salad makes a refreshing combo perfect for brunch or a light afternoon treat. They complement each other in flavors and keep the overall meal feeling light and balanced.
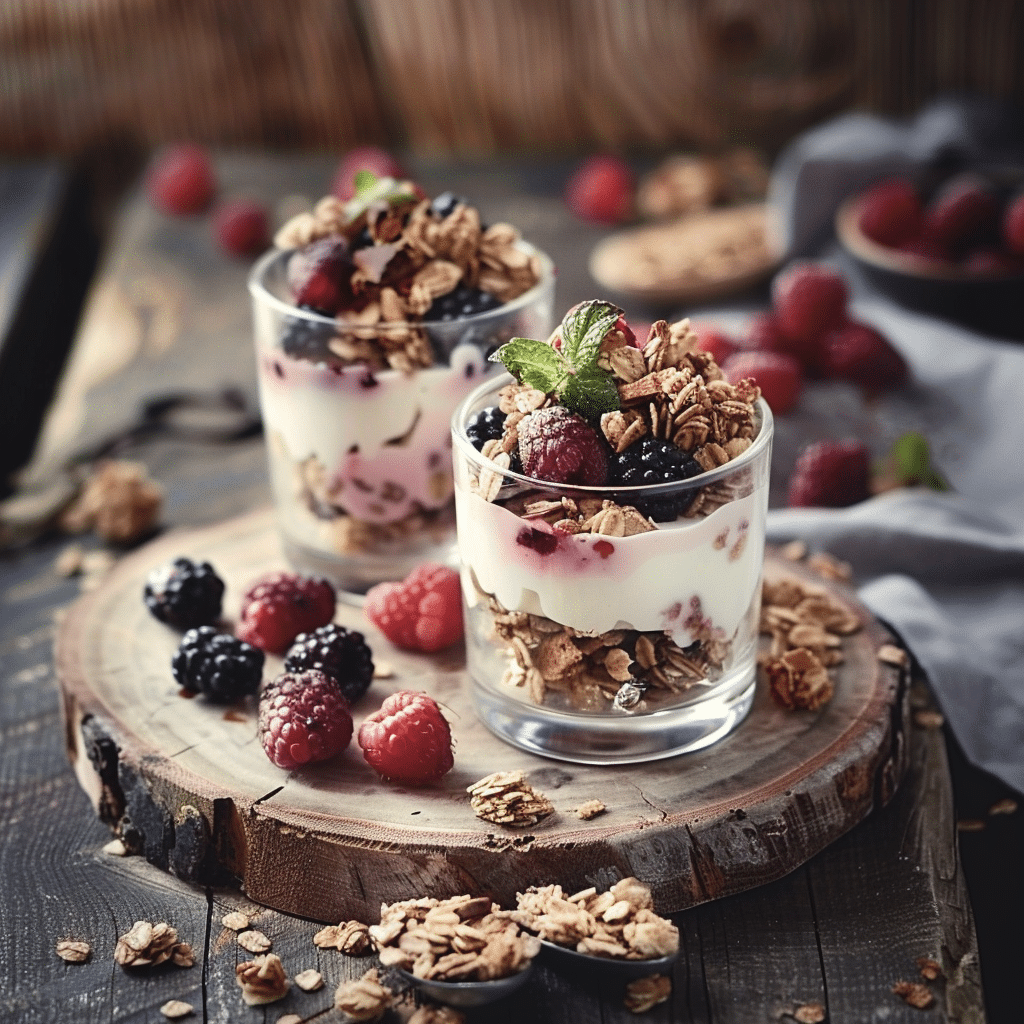
Creative Ways to Present
Serve these yogurt cups in clear glass jars or mini mason jars for a rustic touch, or use stemmed dessert glasses for a more elegant look. Adding a small wooden spoon tied with a ribbon gives a charming personal touch when serving guests or gifting these delightful treats.
Make Ahead and Storage
Storing Leftovers
If you want to make a batch ahead of time, store the layered cups covered in the refrigerator. The berries might release some juice, slightly softening the granola, so it’s best to add the granola right before serving if you want to maintain its crunch.
Freezing
Freezing these cups is not ideal since the texture of yogurt changes when frozen and thawed, becoming watery. To preserve freshness and texture, it’s best to enjoy the No-Bake Berry Yogurt Cups fresh or within a day or two of preparation.
Reheating
Since this dessert is served cold and contains yogurt, reheating is not recommended.
FAQs
Can I use non-dairy yogurt for No-Bake Berry Yogurt Cups?
Absolutely! Non-dairy yogurts like almond, coconut, or soy-based ones work wonderfully and keep the dessert suitable for those with dietary restrictions.
What types of granola work best in this recipe?
Choose a granola that has a good balance of crunch and sweetness. You can go for classic oats and honey granola or mix it up with nutty or fruity varieties.
How far in advance can I assemble the cups?
The cups can be assembled up to a day in advance, but to maintain crisp granola, add it just before serving whenever possible.
Can I substitute the berries with other fruits?
Definitely! Chopped peaches, mangoes, or kiwi make yummy alternatives or additions to the berry mix.
Is this dessert suitable for breakfast?
Yes! No-Bake Berry Yogurt Cups make a fantastic, nutrient-packed breakfast or snack that feels like a treat without guilt.
Final Thoughts
The No-Bake Berry Yogurt Cups are an absolute delight to make and eat, bringing joy with every spoonful. Whether you whip them up for a quick snack, a light dessert, or a beautiful addition to your brunch spread, these cups prove that simple ingredients can create something truly special. Give them a try—you’ll find yourself coming back for more every time!