Yogurt Plum Cake Recipe

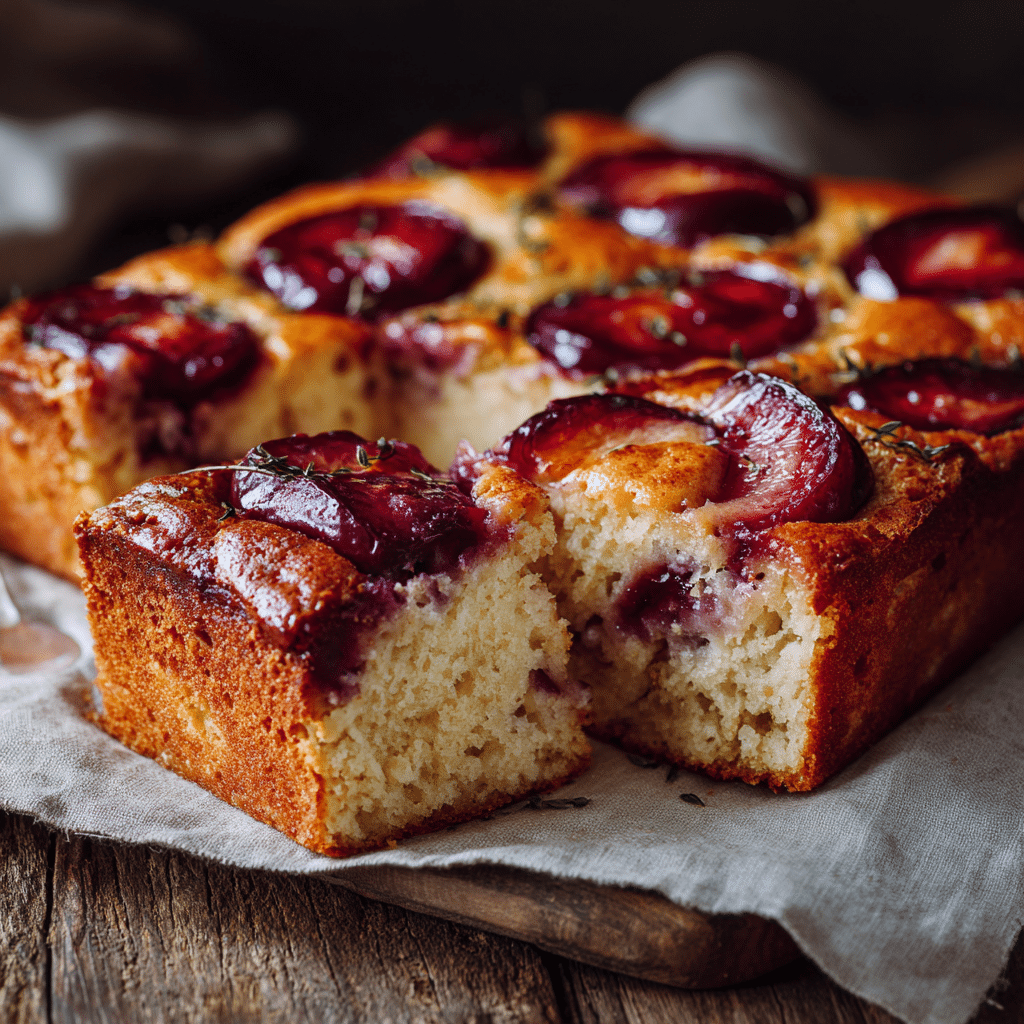
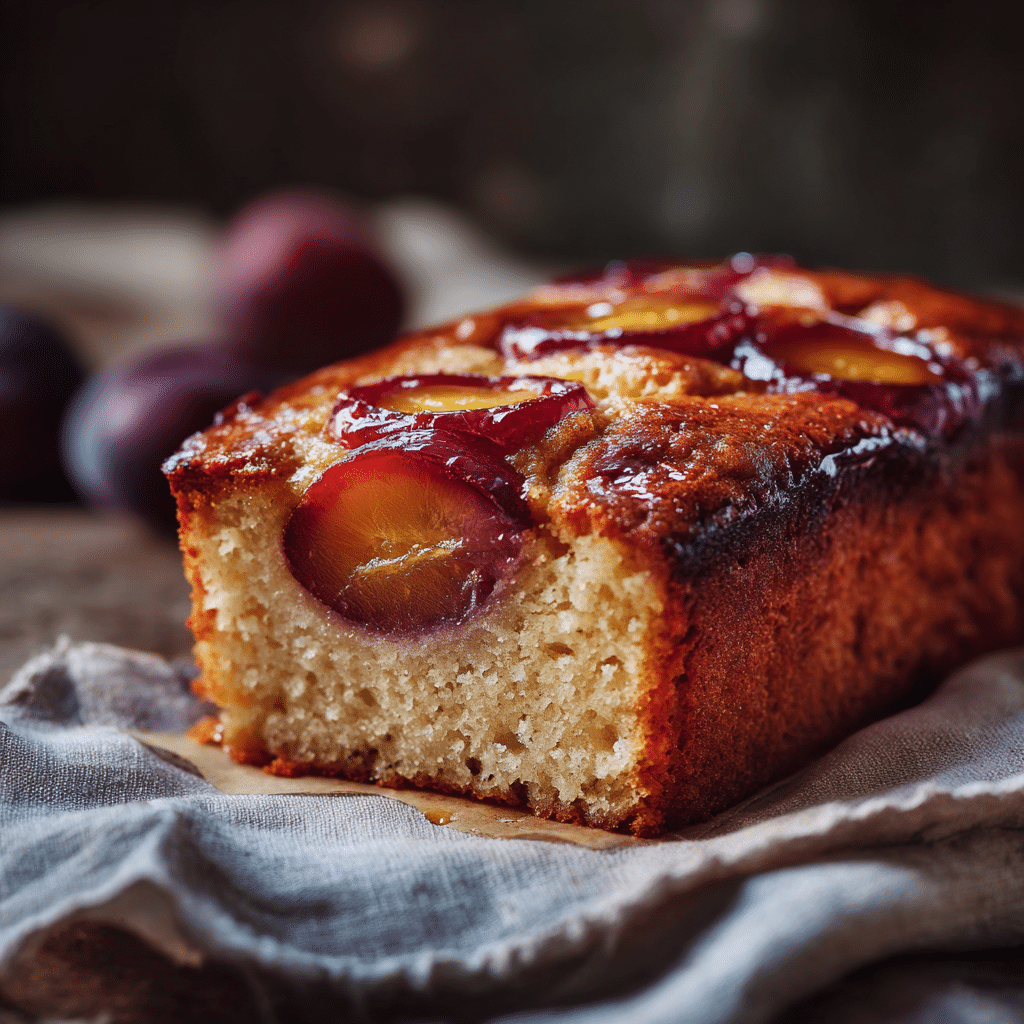
If you adore desserts that perfectly balance moistness with fresh fruity brightness, then the Yogurt Plum Cake is about to become your new favorite treat. This cake brings together the creamy tang of yogurt with the natural sweetness of ripe plums, resulting in a tender, luscious texture that feels indulgent yet surprisingly light. Whether you’re baking for a special occasion or simply craving a cozy homemade dessert, the Yogurt Plum Cake delivers an impressive flavor profile without fuss. Plus, it’s a healthier alternative thanks to olive oil and yogurt, making every bite feel like a little slice of wholesome joy.
Ingredients You’ll Need
The magic of this Yogurt Plum Cake lies in its straightforward ingredients, each playing a key role in building flavor, moisture, and texture. From the creamy yogurt that keeps the crumb tender to the juicy fresh plums that provide natural sweetness and gorgeous color, this recipe sticks to the essentials without complicating things.
- 250 g plain yogurt: Offers moisture and a pleasant tang to tenderize the cake crumb.
- 150 g sugar: Sweetens while helping to create a soft texture.
- 50 g olive oil: Keeps the cake moist and adds subtle richness without heaviness.
- 3 eggs: Provide structure and a bit of lift for a fluffy sponge.
- 1 tbsp vanilla extract: Adds a warm, aromatic depth that complements the plums beautifully.
- 200 g all-purpose flour: Forms the base of the batter, creating light structure.
- ¼ tsp baking soda: Helps the cake rise and keeps it tender.
- ½ tsp baking powder: Adds extra lift for a soft, airy crumb.
- 6 fresh plums: Brings juicy sweetness and stunning color to the top of the cake.
How to Make Yogurt Plum Cake
Step 1: Prepare Your Oven and Plums
Preheat your oven to 350°F (175°C) and grease a 9-inch cake tin. While the oven warms, slice each fresh plum in half, carefully remove the pits, and cut each half into quarters. These vibrant slices will become the sweet, fragrant topping that makes this cake so special.
Step 2: Make the Batter
In a large mixing bowl, whisk together the plain yogurt, sugar, olive oil, eggs, and vanilla extract until smooth and well blended. This combination forms the luscious base of your cake batter, marrying creamy tang with subtle sweetness.
Step 3: Combine Dry Ingredients and Fold
Sift together the all-purpose flour, baking soda, and baking powder. Gently fold these dry ingredients into the wet mixture, making sure not to overmix; you want a tender crumb, not a dense one. The batter should be smooth and just combined.
Step 4: Assemble and Bake
Pour the batter into your prepared tin, spreading it out evenly. Arrange the plum slices neatly over the top — their natural juices will seep into the cake as it bakes, creating pockets of juiciness and caramelized sweetness. Bake for approximately 45 minutes or until a skewer inserted into the center comes out with moist crumbs.
Step 5: Cool and Remove from Tin
After baking, let the cake cool in the tin for about 15 minutes to settle. Then gently transfer it to a wire rack to cool completely. This step helps retain the cake’s tender texture and makes it easier to slice.
How to Serve Yogurt Plum Cake
Garnishes
A simple dusting of powdered sugar brightens the look and adds a light sweetness. For an extra special touch, a swirl of whipped cream or a dollop of vanilla yogurt complements the cake’s natural tang and fruity flavors beautifully. Fresh mint leaves also add a pop of color and freshness.
Side Dishes
This cake pairs wonderfully with a scoop of vanilla ice cream or even a citrusy sorbet for contrast. A cup of warm tea or freshly brewed coffee also enhances the experience, balancing the cake’s moist richness with comforting warmth.
Creative Ways to Present
Try serving slices atop dessert plates garnished with a drizzle of honey or a handful of toasted almonds for crunch. You can also turn the Yogurt Plum Cake into a layered dessert by cutting it into squares and layering with cream cheese frosting and extra plum slices for an elegant twist.
Make Ahead and Storage
Storing Leftovers
Wrap leftover Yogurt Plum Cake tightly in plastic wrap or store in an airtight container to keep it moist. It will stay fresh at room temperature for up to two days, and refrigerated for up to four, perfect for enjoying throughout the week.
Freezing
You can freeze this cake by wrapping individual slices or the entire cake tightly in plastic wrap and then in foil. Freeze for up to three months. Thaw overnight in the fridge before serving to maintain its tender texture and plum juiciness.
Reheating
For a just-baked warmth, gently reheat slices in the microwave for 15 to 20 seconds or place them in a warm oven at 300°F (150°C) for about 10 minutes. Enjoy it with a little extra yogurt or cream for that fresh-from-the-oven feeling.
FAQs
Can I use frozen plums instead of fresh?
Yes, frozen plums can be used if fresh ones aren’t available. Just thaw and drain them well to avoid excess moisture in the batter. Keep in mind that fresh plums provide better texture and nicer presentation.
Is Greek yogurt suitable for this recipe?
Greek yogurt works great and adds extra creaminess, but because it’s thicker, you might want to slightly reduce the flour or add a splash of milk for perfect batter consistency.
Can I substitute olive oil with another oil?
Absolutely. Neutral oils like vegetable or canola oil can be used instead, but olive oil adds a lovely subtle richness that complements the plums wonderfully.
How do I know when the cake is fully baked?
The best way to check is by inserting a skewer into the center. It should come out with moist crumbs but not wet batter. This ensures the cake stays soft and moist without being underdone.
Can I make this cake gluten-free?
Yes! Use a 1:1 gluten-free flour blend with baking powder suitable for gluten-free baking. The texture might be slightly different but still delicious.
Final Thoughts
I can’t recommend the Yogurt Plum Cake enough for anyone looking to impress with minimal effort and maximum flavor. It’s a wonderful way to celebrate seasonal plums and enjoy a moist, flavorful cake that feels both cozy and a little special. Once you try this recipe, you’ll find it’s a go-to for cozy nights, friendly gatherings, and sweet moments whenever you need a touch of homemade happiness.