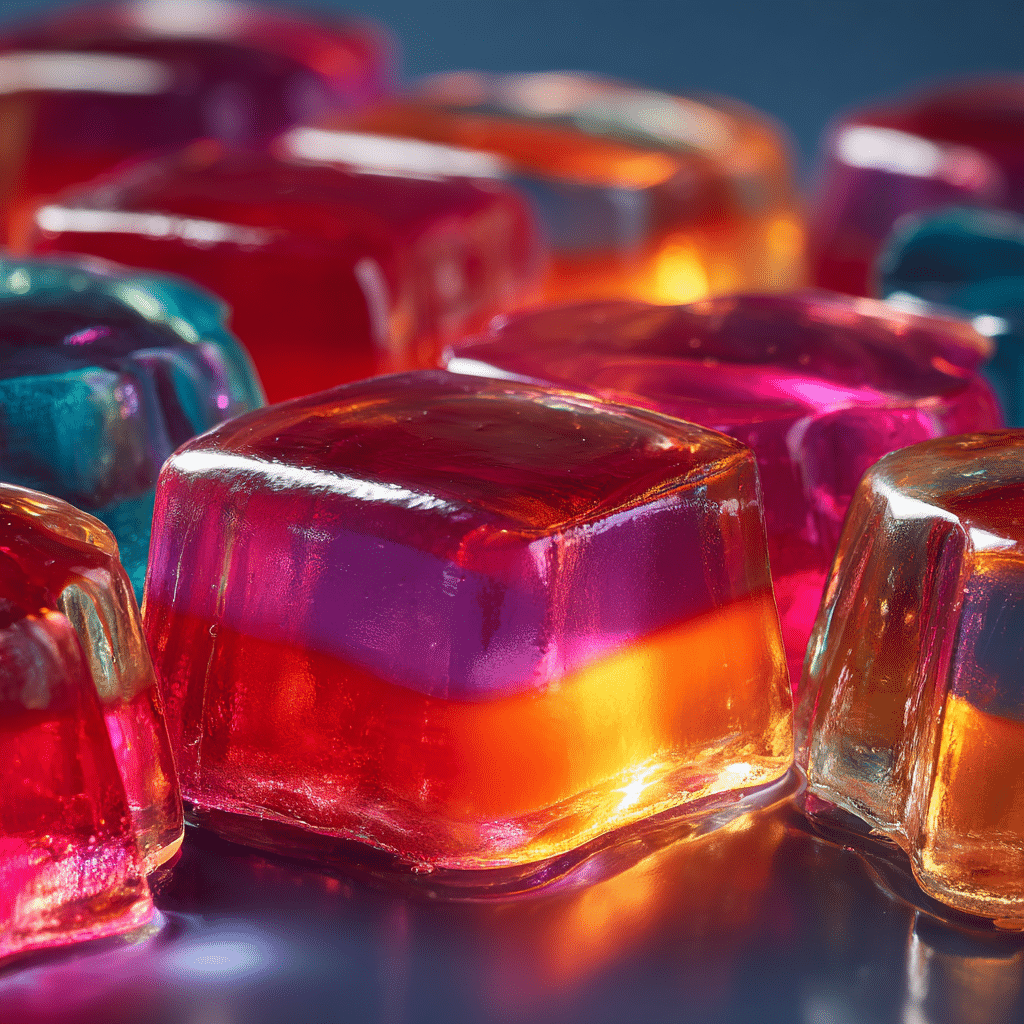
Colorful Jelly Cups Recipe
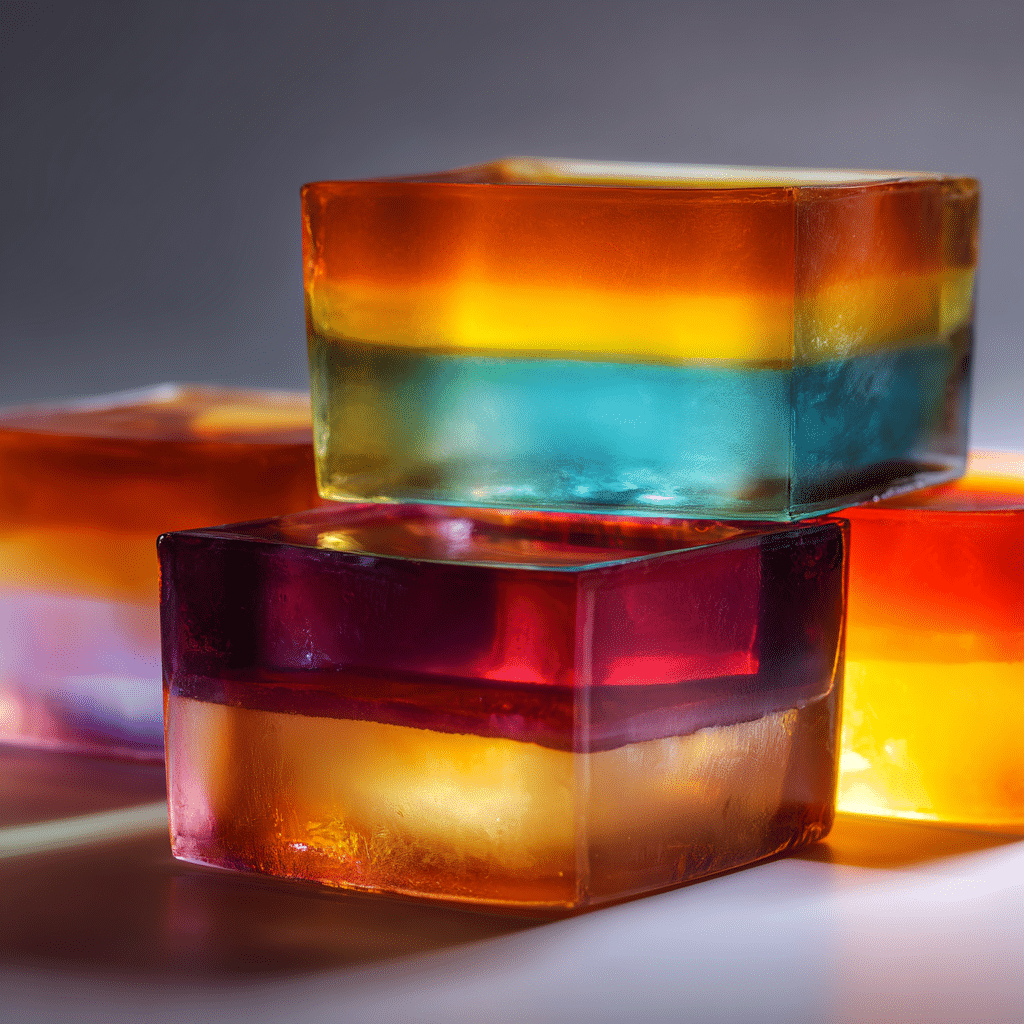
If you’re looking to brighten up any occasion with a treat that’s as fun to eat as it is to look at, these Colorful Jelly Cups are an absolute must-try. Bursting with vibrant layers of fruity flavors and a playful jiggle, these cups are a favorite not only with kids but adults alike. Their beautiful, translucent layers invite a joyful anticipation long before the first spoonful, making them perfect for parties, casual get-togethers, or any day that could use a splash of color and sweetness.
Ingredients You’ll Need
Creating these vibrant Colorful Jelly Cups requires just a handful of simple ingredients, but each plays a crucial role in bringing those dazzling layers to life. From flavor-packed jelly powders to pure water, the combination is straightforward yet essential for that perfect set and shimmer.
- Different flavored jelly powders: Choose a variety of your favorite flavors to create eye-catching layers and a delightful range of tastes.
- Water: Use cold water to mix with the jelly powders for easy dissolving and hot water to bloom the gelatin, ensuring the jelly sets just right.
How to Make Colorful Jelly Cups
Step 1: Prepare Each Jelly Flavor Separately
The secret to those distinct, vivid layers is preparing each jelly flavor one at a time. Start by dissolving the jelly powder in hot water following the package instructions, then add the cold water as directed. Stir until completely dissolved to achieve a smooth texture. Pour the mixture into cups or molds and chill until fully set before moving on to the next flavor.
Step 2: Pour Layers One by One After Setting
Once the first layer is firm, gently pour the next jelly flavor on top. To prevent the layers from mixing, pour slowly over the back of a spoon or down the side of the cup. Repeat this process for as many layers as you like, allowing each to chill fully before adding the next. This method creates the signature stacked look that makes Colorful Jelly Cups so delightful.
Step 3: Let Each Layer Cool Before Adding the Next
This step is key! Patience ensures your layers stay neat and defined. If a layer isn’t cool enough, the new liquid can dissolve it, resulting in a blurred mess rather than a crisp, colorful pattern. Typically, chilling for at least 30 minutes per layer in the refrigerator does the trick, but keep an eye on firmness before proceeding.
How to Serve Colorful Jelly Cups

Garnishes
To give your Colorful Jelly Cups an extra touch of charm, consider garnishing with fresh berries, a sprig of mint, or a dollop of whipped cream. These not only add flavor contrast but also elevate the presentation, making the cups feel more festive and inviting.
Side Dishes
Because Colorful Jelly Cups are light and refreshing, pair them with simple sides such as bite-sized sandwiches, fruit skewers, or crunchy crackers. These combinations balance sweet and savory elements that guests will appreciate at any party or gathering.
Creative Ways to Present
Think beyond plain cups. Use clear mason jars, mini glass bowls, or quirky silicone molds to add personality to your servings. Layering in transparent containers lets the vibrant colors shine through, turning every cup into a mini masterpiece that’s almost too pretty to eat.
Make Ahead and Storage
Storing Leftovers
Colorful Jelly Cups keep best when covered with plastic wrap or stored in airtight containers in the refrigerator. This prevents them from absorbing other fridge odors and keeps their texture intact. Enjoy leftovers within 3 to 4 days for the freshest taste and best jiggle.
Freezing
Freezing jelly isn’t usually recommended as it can alter the texture, causing it to become crumbly or separation when thawed. It’s best to enjoy Colorful Jelly Cups fresh or chilled rather than frozen to maintain that perfect wobbly consistency.
Reheating
These jellies are meant to be enjoyed cold, so reheating is not applicable. Serve them straight from the fridge for that satisfying cool, fruity burst that’s synonymous with fun and refreshment.
FAQs
Can I use homemade gelatin instead of jelly powder?
Absolutely! Homemade gelatin can be used if you prefer natural ingredients, but keep in mind that homemade gelatin may set differently and might require adjustments in layering times and firmness checks for perfect Colorful Jelly Cups.
How many layers are ideal for Colorful Jelly Cups?
There’s no strict limit! Three to four layers usually create a visually appealing and manageable dessert, but feel free to get creative with more layers as long as you allow each to set properly before adding the next.
Can I add fruit pieces inside the layers?
Yes, small fruit pieces can add delightful texture and flavor, but add them sparingly to avoid interfering with the jelly’s ability to set neatly. Softer fruits like berries or chopped kiwi work great when suspended evenly in the jelly before chilling.
Is it better to use glass or plastic cups for serving?
Glass cups showcase the vivid colors beautifully and feel more elegant, but plastic cups are perfectly fine for casual parties or kids’ events, offering durability and convenience.
How long does each jelly layer take to set?
Usually, each layer takes about 30 to 60 minutes to fully set in the refrigerator, depending on the thickness of the layer and the jelly brand; always check firmness before adding the next layer to maintain those crisp boundaries.
Final Thoughts
There’s something simply magical about creating and sharing Colorful Jelly Cups that bring smiles with their cheerful hues and fun textures. They’re an easy, delightful way to add a burst of joy to your dessert table, and once you try making them, you’ll see why these cups become an instant favorite. Go ahead and whip up a batch for your next celebration—you won’t regret it!