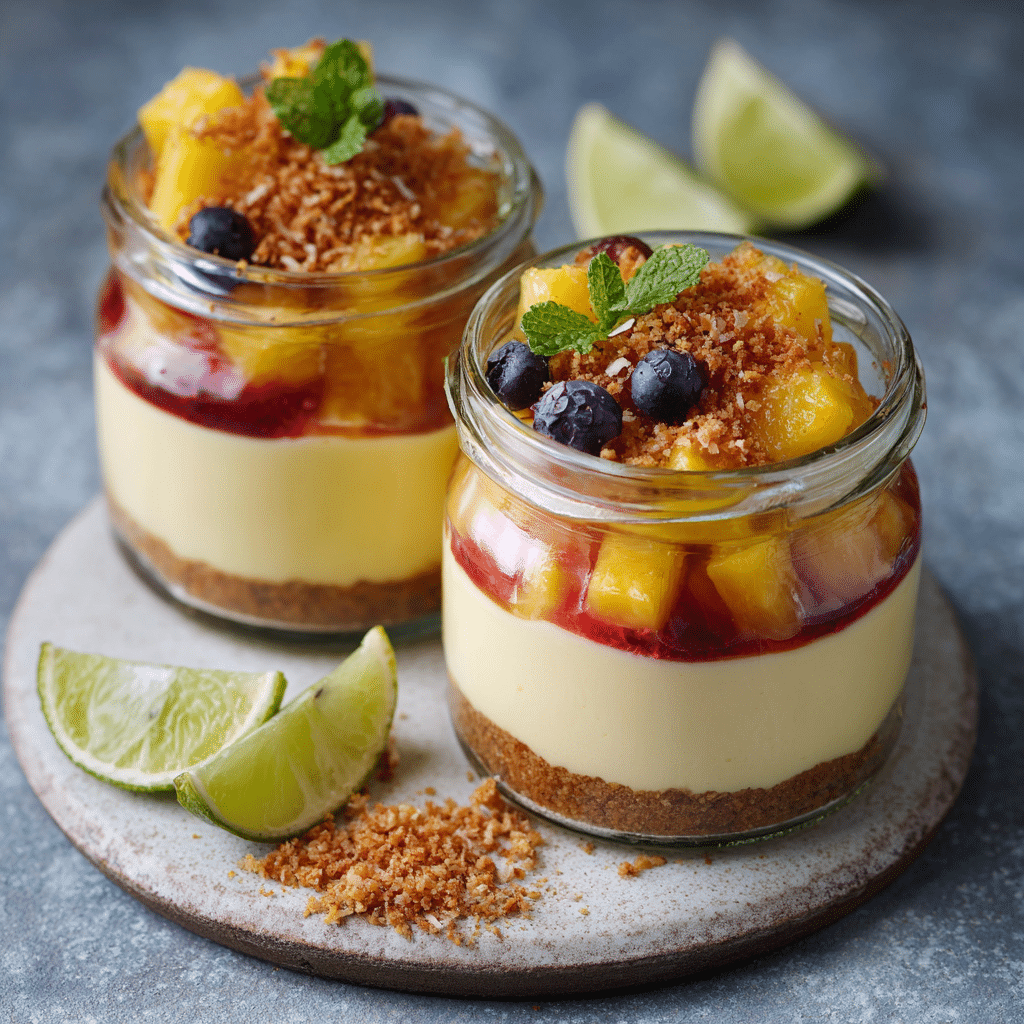
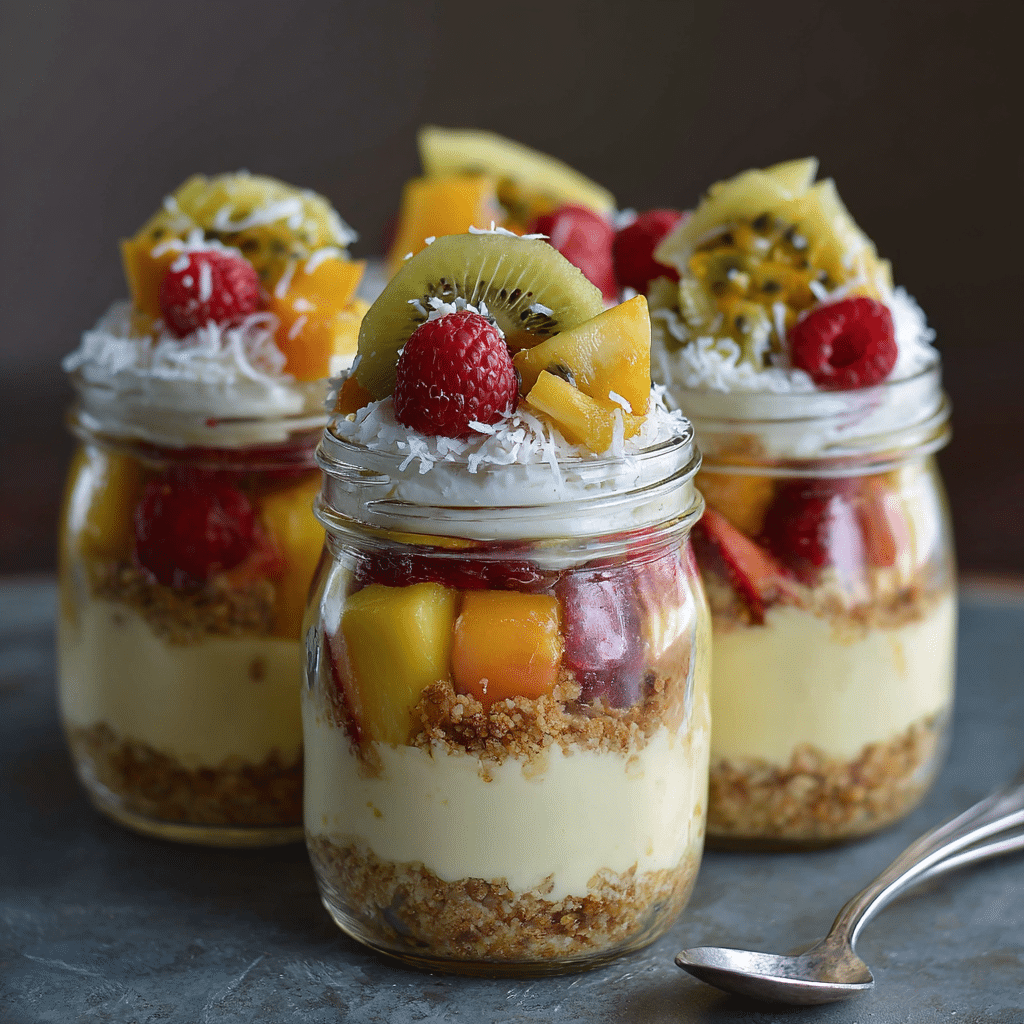
Tropical Fruit Cheesecake Jars Recipe
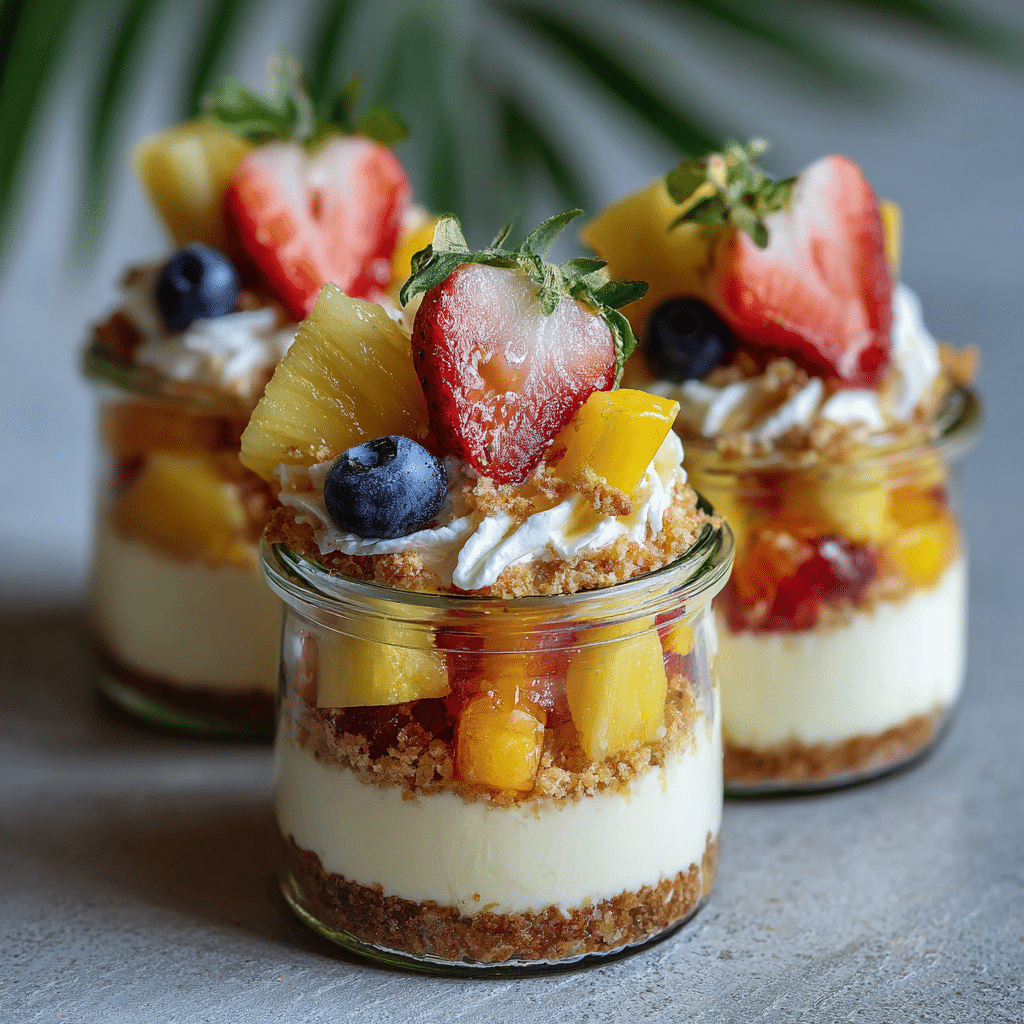
If you’re craving a dessert that feels like a tropical vacation in a jar, the Tropical Fruit Cheesecake Jars Recipe is exactly what you need. These little jars pack creamy, dreamy cheesecake goodness paired with the bright, tangy sweetness of fresh pineapple, kiwi, and mango. Perfectly layered over crunchy digestive biscuit crumbs, this dessert is not only visually stunning but also a heavenly combination of textures and flavors that will brighten any day. Whether you’re serving a casual get-together or treating yourself after a long day, these jars are an effortless way to impress with minimal fuss.
Ingredients You’ll Need
Gathering simple, fresh ingredients is the secret to making this dessert shine. Each component plays a crucial role in delivering the perfect blend of creamy, crunchy, and fruity notes that make these jars unforgettable.
- Cream cheese: The rich and creamy base that gives the cheesecake its luscious texture.
- Pineapple: Adds sweet and tangy tropical sunshine with every bite.
- Kiwi: Brings a lovely tartness and vibrant green color to the mix.
- Mango: Offers smooth, honey-like sweetness that complements the cheesecake beautifully.
- Digestive biscuits: Provide a buttery, crumbly foundation that balances all the soft and juicy elements.
How to Make Tropical Fruit Cheesecake Jars Recipe
Step 1: Prepare the Biscuit Base
Begin by crushing the digestive biscuits into fine crumbs—using a food processor or placing them in a sealed bag and pounding gently with a rolling pin works perfectly. These crumbs form the crunchy base of the jars, adding texture and a toasty flavor that contrasts beautifully with the smooth cheesecake mixture.
Step 2: Make the Cheesecake Mixture
Next, soften your cream cheese until it’s smooth and velvety. Beat it gently to ensure there are no lumps. This luxurious layer will be the creamy heart of your Tropical Fruit Cheesecake Jars Recipe, giving richness and body to every spoonful.
Step 3: Chop the Tropical Fruits
Carefully peel and dice the pineapple, kiwi, and mango into small, bite-sized pieces. Fresh, ripe fruit is essential here — it makes such a difference in sweetness and juiciness, turning this dessert into a vibrant celebration of tropical flavors.
Step 4: Assemble the Jars
Start by spooning a layer of biscuit crumbs into the bottom of each jar, then add a thick layer of cream cheese mixture on top. Follow with a generous handful of the chopped tropical fruits. Repeat with another biscuit layer, cheesecake, and fruits if your jars are tall enough. This layering creates a stunning visual as well as a balanced taste in every spoonful.
Step 5: Chill Before Serving
Refrigerate the jars for at least two hours to allow the cheesecake to set and the flavors to meld beautifully. This resting step turns your jars into a perfectly chilled treat that’s refreshing and indulgent all at once.
How to Serve Tropical Fruit Cheesecake Jars Recipe
Garnishes
A sprinkle of toasted coconut flakes or finely chopped mint leaves on top can elevate your presentation and add an extra layer of aroma and texture. A thin slice of kiwi or a small mint sprig makes a charming touch that says you went the extra mile.
Side Dishes
These cheesecake jars shine brightly on their own but pairing them with a light, citrusy salad or a crisp glass of sparkling water with lime can complement and refresh the palate between bites. They also make a lovely finish to tropical-themed dinners or barbecue feasts.
Creative Ways to Present
Try serving these jars in small mason jars or delicate glass cups to show off the layers. You can also tie a pretty ribbon around each jar for a gift-ready dessert or set them up on a dessert table alongside matching tropical decorations to amp up the festive feeling.
Make Ahead and Storage
Storing Leftovers
If you happen to have any leftovers — though that’s always a challenge — store them in airtight containers or their jars in the refrigerator for up to three days. This keeps the cheesecake fresh and the fruit juicy, but it’s best enjoyed sooner for peak flavor and texture.
Freezing
While freezing is possible, the texture of the fresh fruits may change and become a bit watery upon thawing. If you want to freeze, consider freezing the cheesecake mixture and biscuit crumbs separately, then assemble fresh when ready to serve.
Reheating
Since this is a chilled dessert, reheating is not recommended. The Tropical Fruit Cheesecake Jars Recipe tastes best cold, delivering the perfect balance of creamy and fruity with every bite.
FAQs
Can I use other fruits in the Tropical Fruit Cheesecake Jars Recipe?
Absolutely! While pineapple, kiwi, and mango are classic tropical choices, feel free to experiment with papaya, passion fruit, or even berries for a twist. Just aim for fruits that hold up well without making the dessert too watery.
Is there a way to make the cheesecake filling lighter?
Yes! You can fold in some whipped cream or Greek yogurt into the cream cheese to lighten the texture. This also adds a fresh tang that pairs nicely with the tropical fruits.
Can these jars be made vegan or dairy-free?
Definitely. Substitute the cream cheese with a dairy-free or vegan cream cheese alternative, and check your biscuits to ensure they are vegan-friendly. The fruits remain the same, keeping the bright flavors intact.
What size jars work best for this recipe?
Small to medium-sized jars around 4 to 8 ounces work great. They’re the perfect single-serving size, easy to handle and store, plus they showcase the pretty layers beautifully.
How long do I need to chill the jars?
At least two hours is recommended to let the cheesecake layer firm up and let the flavors mingle. If you’re short on time, even 30 minutes will make a difference, but chilling overnight is ideal for the best texture and taste.
Final Thoughts
There’s something truly joyful about spooning through layers of creamy cheesecake, crunchy biscuit, and succulent tropical fruit all in one jar. The Tropical Fruit Cheesecake Jars Recipe is a delightful, fuss-free way to bring a splash of sunshine into your dessert routine. I hope you try making these jars soon — they’re always a hit and make every occasion a bit more special.